
Knife making is a rewarding craft that combines artistry, precision, and practical skills. Whether you’re interested in forging blades as a hobby or envision turning your passion into a small business, learning how to start knife making opens up a world of creativity and hands-on satisfaction. This guide covers the essential equipment, step-by-step process, and key tips for beginners eager to craft their first custom knife.
Before diving into the process, it’s important to understand the tools you’ll need, the safety precautions to follow, and the basic techniques that form the foundation of successful blade crafting. For a deeper look at traditional methods, you might find the Sakai knife making process overview especially insightful.
Essential Tools and Materials for Beginner Knife Makers
Starting your journey into knife crafting requires assembling a basic set of tools and materials. While advanced makers may use specialized equipment, beginners can achieve great results with a modest setup. Here’s what you’ll need to get started:
- Steel stock: Choose a high-carbon steel such as 1084, 1095, or O1. These are forgiving for beginners and produce durable blades.
- Files and rasps: For shaping and refining the blade profile.
- Angle grinder or hacksaw: To cut out your knife blank from the steel stock.
- Belt grinder or sanding blocks: For smoothing and beveling the blade. A 2×72” belt grinder is ideal, but hand sanding is possible for starters.
- Drill and bits: To create holes for handle pins or fasteners.
- Clamps and vise: For holding your work securely during shaping and assembly.
- Heat source: A propane forge, charcoal forge, or even a simple torch can be used for heat treating.
- Quenching oil: Essential for hardening the blade after heating.
- Protective gear: Safety glasses, gloves, and a respirator to protect against sparks, dust, and fumes.
- Handle materials: Wood, micarta, G10, or stabilized materials are popular choices for handles.
- Epoxy and pins: For attaching and securing the handle scales.
As you gain experience, you may wish to upgrade your setup. However, these basics are sufficient for your first few blades.
Step-by-Step Guide to Making Your First Knife
Creating a custom blade involves several key stages. Each step builds on the previous one, so patience and attention to detail are crucial. Here’s a breakdown of the process for those learning how to start knife making at home:
1. Designing Your Blade
Begin by sketching your knife shape on paper. Consider the intended use—kitchen, outdoor, or utility—and design accordingly. Once satisfied, transfer the outline onto your steel using a marker or scribe.
2. Cutting Out the Blank
Use an angle grinder or hacksaw to cut the rough shape from your steel bar. Take care to stay just outside your lines; you’ll refine the shape with files and sanding tools.
3. Profiling and Shaping
Secure the blank in a vise and use files or a belt grinder to smooth the edges and define the blade’s profile. At this stage, drill holes for handle pins if your design requires them.
4. Grinding the Bevels
The bevel is the sloped section that forms the cutting edge. Mark your centerline along the blade’s edge, then carefully grind or file the bevels, alternating sides to maintain symmetry. Beginners often use a jig to help keep angles consistent.
5. Heat Treating the Blade
Heat treating is critical for achieving the right balance of hardness and toughness. Heat the blade evenly in your forge or with a torch until it reaches a bright orange color (typically around 1,500°F for high-carbon steels). Quickly quench the blade in oil to harden it. After hardening, temper the blade in an oven at 350–450°F for 1–2 hours to reduce brittleness.
6. Finishing and Polishing
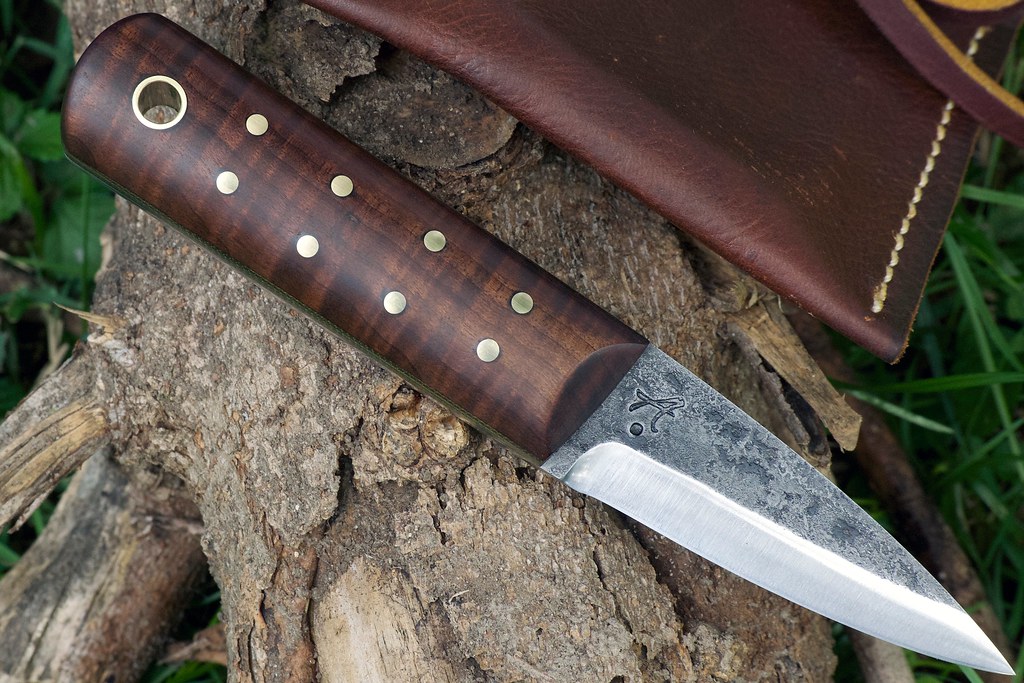
After heat treatment, refine the blade with finer grits of sandpaper or a belt grinder. Remove any scale or discoloration and polish the blade to your desired finish—satin, mirror, or brushed.
7. Attaching the Handle
Cut and shape your handle material to fit the tang of the blade. Attach the scales using epoxy and pins, then clamp securely until cured. Shape the handle with files and sandpaper for comfort and aesthetics.
8. Final Sharpening and Testing
Use sharpening stones or a guided system to hone the edge. Test the blade on paper or soft wood to ensure it cuts cleanly and safely.
Safety Tips for New Knife Makers
Working with steel, grinders, and heat sources can be hazardous. Always wear proper eye and hand protection. Use a respirator when sanding or grinding to avoid inhaling fine particles. Keep your workspace organized and free of flammable materials. Never rush the process—patience is key to both safety and quality.
Common Mistakes and How to Avoid Them
- Overheating the blade: Excessive heat can ruin the steel’s temper. Watch the color and avoid overheating during grinding and heat treating.
- Uneven bevels: Take your time and check your progress frequently. Use a guide or jig if needed.
- Improper quenching: Use the correct oil and temperature. Plunge the blade straight into the oil to avoid warping.
- Skipping safety gear: Always protect your eyes, lungs, and hands. Accidents can happen quickly.
- Rushing the finish: Quality takes time. Each stage, from shaping to polishing, affects the final result.
Frequently Asked Questions
What is the best steel for beginner knife makers?
High-carbon steels like 1084 or 1095 are popular choices for beginners. They are easy to heat treat and produce reliable, sharp blades.
Do I need a forge to make my first knife?
While a forge is helpful for heat treating, some beginners use a propane torch for small blades. For stock removal (grinding from flat bar), you can skip forging but will still need a heat source for hardening.
How long does it take to make a knife from start to finish?
For your first project, expect to spend 10–20 hours, depending on your tools and the complexity of your design. With practice, the process becomes faster and more efficient.
Conclusion
Embarking on the journey of how to start knife making is both challenging and deeply satisfying. With the right tools, a methodical approach, and a commitment to safety, anyone can craft a functional and beautiful blade. As your skills grow, you’ll discover endless possibilities for customization and creativity in this timeless craft.