The journey from a simple idea to a finished blade is a fascinating blend of artistry, engineering, and hands-on craftsmanship. For anyone interested in bladesmithing or collecting, understanding the custom knife design process reveals the dedication and skill required to transform raw materials into a functional work of art. This guide breaks down each stage, from the initial concept to the final polish, highlighting the key decisions and techniques that shape every unique knife.
Whether you’re a hobbyist, a professional maker, or simply curious about how custom knives come to life, exploring this process will deepen your appreciation for the craft. Before diving into the step-by-step journey, it’s helpful to learn from experienced smiths and resources such as the blade forging tutorial by Jim Saviano, Master Smith, which offers valuable insights into forging techniques and design considerations.
From Inspiration to Initial Sketch
Every custom blade begins with an idea. Inspiration can come from a variety of sources: historical knives, modern tactical needs, culinary requirements, or even the natural world. The first step is translating this inspiration into a tangible concept. Makers often start with rough sketches, experimenting with blade profiles, handle shapes, and overall proportions.
During this phase, the designer considers the knife’s intended use. Will it be a chef’s tool, a hunting companion, or a collector’s showpiece? Functionality drives many design choices, such as blade length, thickness, and point style. Ergonomics are also crucial—handle contours, balance, and grip comfort must be visualized on paper before any steel is cut.
Some makers use digital tools for rendering, but many still prefer pencil and paper for the tactile feedback and creative freedom. The goal is to produce a detailed drawing that serves as the blueprint for the rest of the process.
Material Selection and Preparation
With a finalized design, attention turns to materials. The choice of steel is fundamental, as it determines the blade’s performance, durability, and ease of maintenance. Popular options include high-carbon steels for edge retention, stainless steels for corrosion resistance, and specialty alloys for specific properties.
Handle materials are equally important. Makers select from woods, synthetics, bone, antler, or even composites, each offering unique aesthetics and tactile qualities. The selection process balances beauty, functionality, and the maker’s personal style.
Once materials are chosen, they are prepared for shaping. Steel is cut or forged to rough size, and handle materials are stabilized or shaped as needed. This stage sets the foundation for the knife’s structural integrity and long-term performance.
Shaping and Profiling the Blade
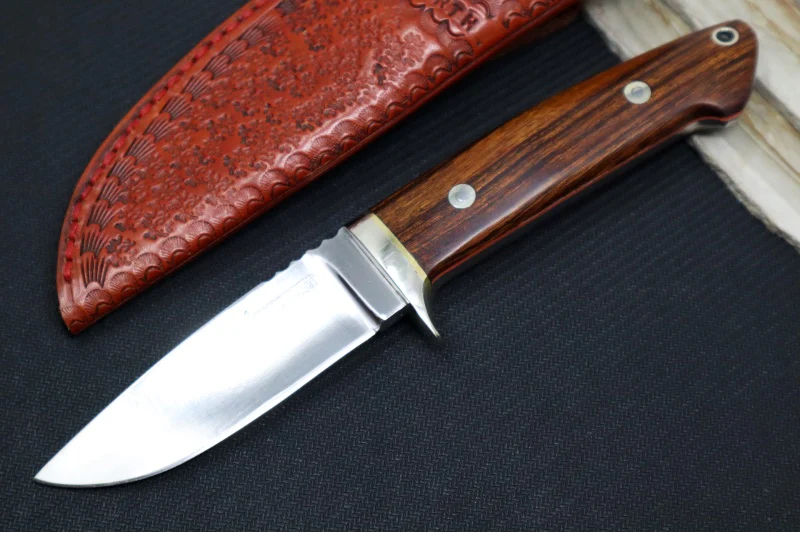
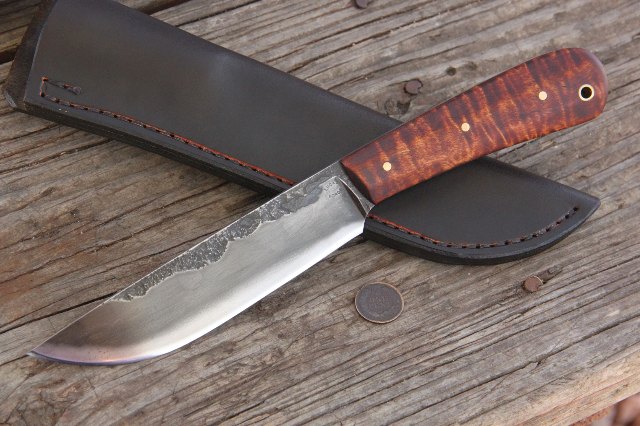
The next stage in the custom knife design process is transforming raw steel into the desired blade shape. This can be achieved through forging or stock removal. Forging involves heating the steel and hammering it to shape, a traditional method that adds character and strength. Stock removal, on the other hand, uses grinders and files to cut away excess material, offering precise control over dimensions.
During profiling, the maker refines the blade’s outline, establishes the tang (the portion that extends into the handle), and ensures symmetry. Careful attention is paid to the blade’s thickness, taper, and balance, as these factors affect cutting performance and handling.
Once the profile is established, the bevels—the angled surfaces that form the cutting edge—are ground. This is a critical step, as it determines the knife’s sharpness and slicing ability. Makers use a combination of belt grinders, files, and stones to achieve the desired geometry.
Heat Treating and Hardening
Heat treatment is where steel truly becomes a blade. This process involves heating the blade to a specific temperature, then quenching it rapidly in oil or water to harden the steel. Proper heat treatment is essential for achieving the right balance of hardness and toughness, ensuring the blade holds an edge without becoming brittle.
After hardening, the blade is tempered—reheated to a lower temperature—to relieve internal stresses and improve durability. The exact temperatures and times depend on the steel type and the desired properties. This stage is both science and art, requiring experience and precision to get optimal results.
Finishing Touches: Grinding, Polishing, and Assembly
With the blade hardened and tempered, the maker returns to the grinder to refine the bevels, thin the edge, and remove any warps or imperfections. This is followed by hand sanding and polishing, which not only enhances appearance but also reveals the steel’s grain and character.
Handle assembly is the next step. Depending on the design, the handle may be a full tang (where the steel runs the length and width of the handle) or a hidden tang (where the steel is enclosed within the handle material). Makers carefully fit, glue, and pin the handle scales or slabs, then shape and finish them for comfort and aesthetics.
Final assembly includes attaching guards, bolsters, or pommels if required. The knife is then sharpened, tested, and given a protective finish. Makers often add their maker’s mark or logo at this stage, signifying the completion of the process.
Testing and Quality Control
Before a custom knife leaves the workshop, it undergoes thorough testing. This can include cutting tests, edge retention checks, and inspections for fit and finish. Makers ensure that the knife meets their standards for performance, safety, and appearance. Only after passing these checks is the blade ready for delivery or display.
Frequently Asked Questions
What is the most important step in making a custom knife?
Every stage is crucial, but many makers consider heat treatment the most critical. Proper hardening and tempering ensure the blade performs well and lasts a lifetime.
How long does it take to make a custom knife?
The timeline varies depending on complexity, materials, and maker experience. A simple design may take several days, while intricate or decorative pieces can require weeks of careful work.
Can I design my own custom knife even if I’m not a bladesmith?
Absolutely. Many custom makers work closely with clients to turn their ideas into reality. Providing sketches, inspiration images, or detailed descriptions helps the maker understand your vision and create a unique blade tailored to your preferences.
Conclusion
The custom knife design process is a rewarding blend of creativity, technical skill, and attention to detail. From the first sketch to the final sharpening, every step shapes the knife’s character and performance. Whether you’re planning to commission a piece or try your hand at making one, understanding these stages will help you appreciate the artistry and craftsmanship behind every custom blade.