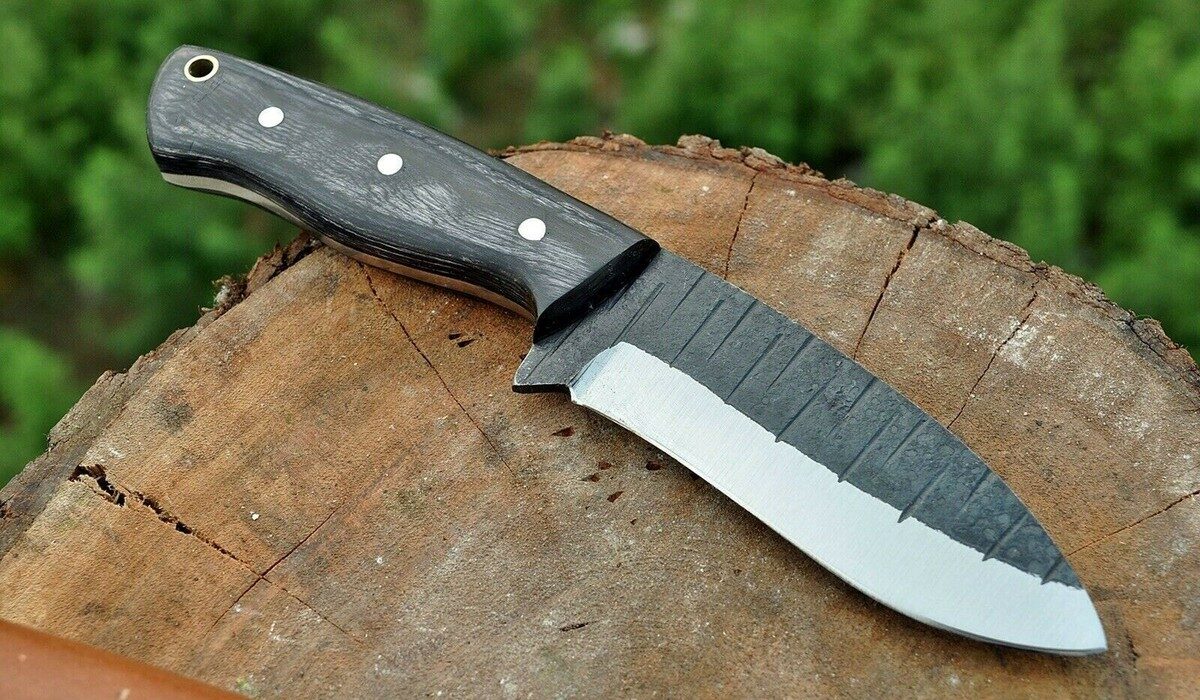
For many kitchen professionals and knife enthusiasts alike, removing nicks from a blade is a crucial skill. Whether youre slicing through vegetables or carving a roast, a smooth and sharp blade is essential for precision and safety. In this guide, well explore the best methods to restore your blades to their former glory.

Understanding the Importance of Blade Maintenance
Maintaining a blade is not just about keeping it sharp but also about ensuring its longevity. A nicked blade can lead to uneven cuts and even pose a safety risk. This is why understanding the basics of blade maintenance is vital for every knife user.
What Causes Nicks in Blades?
Nicks can occur due to various reasons such as improper use, cutting through hard materials, or accidental drops. Understanding the cause can help in preventing future damage.
Improper Use
Using a knife for tasks it wasnt designed for can lead to nicks. For instance, using a delicate kitchen knife to chop through bones can easily damage the edge.
Contact with Hard Surfaces
Cutting on hard surfaces like glass or stone can also cause nicks. It’s always best to use a proper cutting board.
Essential Tools for Removing Nicks from a Blade
Before you start the process of removing nicks, ensure you have the right tools. Here are some essentials:
Sharpening Stones
Sharpening stones are a staple for any knife enthusiast. They come in various grits, each serving a different purpose in the sharpening process.
Honing Steel
While honing steel won’t remove nicks, its great for regular maintenance to keep your blade aligned.
Knife Sharpeners
Manual or electric knife sharpeners can be used for quick touch-ups and are especially handy for minor nicks.
Step-by-Step Guide to Removing Nicks from a Blade
Now, lets dive into the step-by-step process of restoring your blade:
Step 1: Assess the Damage
Before you start, carefully examine the blade to understand the extent of the damage. This will help determine the tools and techniques needed.
Step 2: Start with Coarse Grit
Use a coarse grit stone to begin the process. This will help grind away the nicked area. Ensure you maintain a consistent angle for even sharpening.
Step 3: Move to Medium Grit
Once the nicks are less noticeable, switch to a medium grit stone. This will refine the edge further.
Step 4: Finish with Fine Grit
Finally, use a fine grit stone to polish the blade. This step ensures a smooth and sharp edge.
Additional Tips for Blade Care
To avoid future nicks and maintain your blades edge, follow these tips:
Regular Honing
Regularly hone your blade to keep the edge aligned and prevent minor nicks.
Proper Storage
Store your knives properly to avoid accidental nicks. A knife block or magnetic strip can be a great option.
Avoid Hard Surfaces
Always use a cutting board and avoid cutting on surfaces like glass or stone.
Internal Resources for Knife Enthusiasts
For more insights on knife maintenance and care, you can check out our articles on Blade Edge Techniques and Knives for Hiking.
External Resources
For a comprehensive understanding of knife types, visit this guide on knives.

FAQ Section
How often should I sharpen my knife?
It depends on usage, but generally, every few months for regular use is sufficient. Frequent honing can reduce the need for sharpening.
Can I use a sharpening stone on all types of blades?
Yes, but ensure you use the correct grit and technique suitable for the specific blade material.
Whats the difference between sharpening and honing?
Sharpening removes material to create a new edge, while honing realigns the existing edge without removing material.
This article contains affiliate links. We may earn a commission at no extra cost to you.
