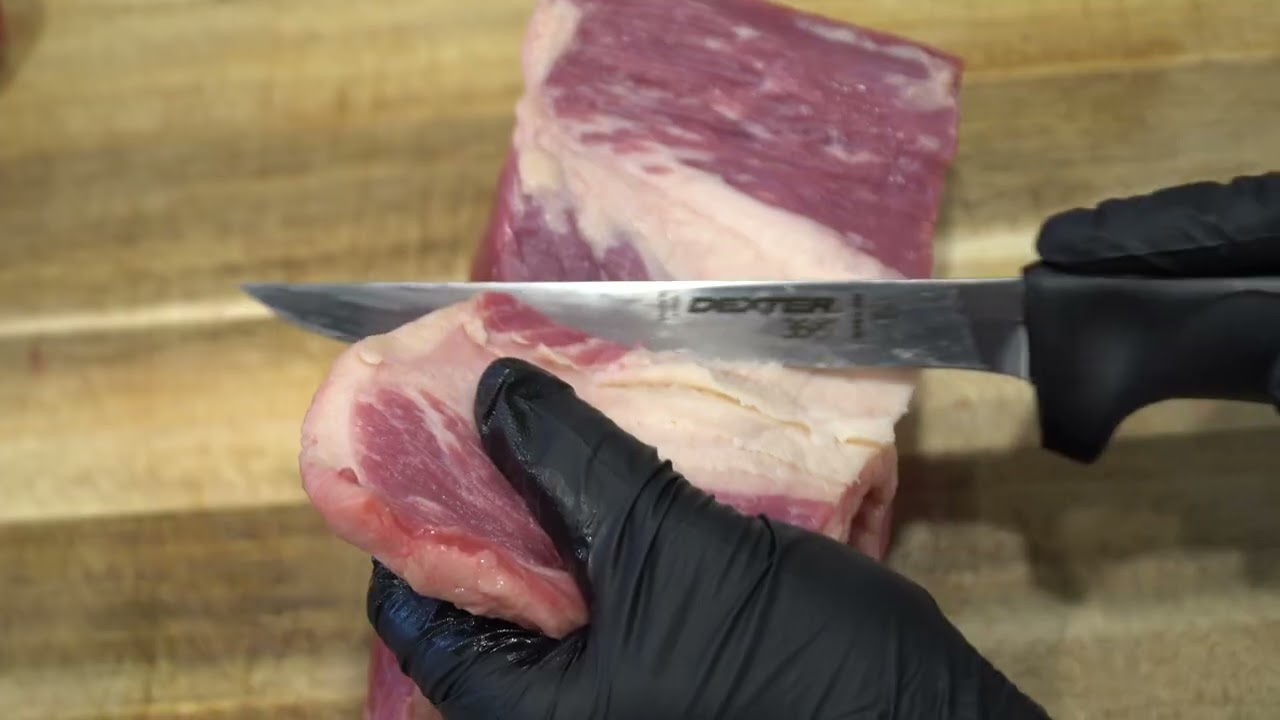
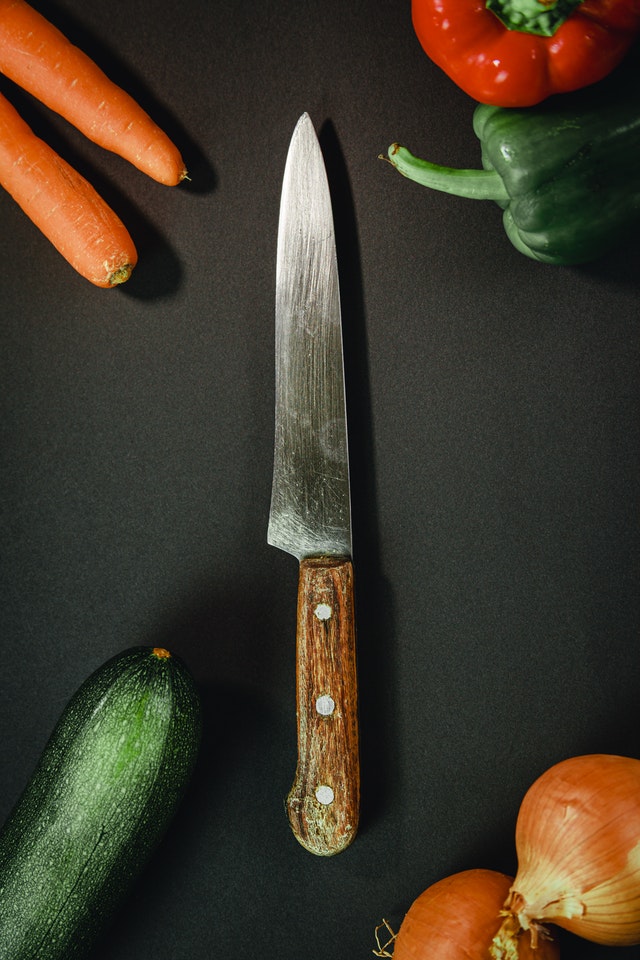
Deboning a salmon might seem like a daunting task, especially if you’re not familiar with the right tools and techniques. However, learning how to debone salmon with a boning knife can save you money, enhance the quality of your meals, and boost your culinary confidence. Whether you’re a home cook or a professional chef, mastering this skill is a valuable asset in any kitchen. This guide will walk you through the process step-by-step, ensuring you can prepare your salmon with ease and precision.

Why Use a Boning Knife?
A boning knife is specifically designed for deboning tasks. It features a narrow, flexible blade that allows for precise cuts and easy maneuverability around bones and joints. This makes it the ideal tool for deboning salmon, ensuring minimal waste and a clean finish. For more insights on why a stiff boning knife is better, you can check this detailed guide.
Preparing Your Workstation
Before you begin, ensure your workstation is clean and organized. You’ll need a cutting board, a sharp boning knife, and a pair of fish tweezers. Make sure your knife is sharp, as a dull blade can slip and make the task more difficult.
Selecting the Right Salmon
For the best results, choose fresh, high-quality salmon. Look for bright, clear eyes, firm flesh, and a fresh ocean scent. The fish should not have a strong fishy smell, as this indicates it is no longer fresh.
Tools You Will Need
- Boning Knife
- Cutting Board
- Fish Tweezers
- Paper Towels
Step-by-Step Guide to Deboning Salmon
Step 1: Position the Salmon
Lay the salmon skin-side down on the cutting board. This position gives you the best access to the bones.
Step 2: Remove the Pin Bones
Using your fingers, gently run down the flesh of the salmon to locate the pin bones. Once found, use fish tweezers to carefully pull them out, ensuring you pull in the direction of the bone to avoid tearing the flesh.
Step 3: Make the Initial Cut
At the tail end of the salmon, make a small incision to create a starting point. Insert the boning knife and angle it slightly towards the bones.
Step 4: Follow the Bone Structure
Using firm, smooth strokes, guide the knife along the rib bones. Keep the knife as close to the bones as possible to minimize flesh waste. For more tips on knife handling, visit boning knife grip styles.
Finishing Touches
Inspect for Remaining Bones
Once the main bones are removed, inspect the flesh for any remaining pin bones. Use your tweezers to extract any you find.
Skin the Salmon (Optional)
If you prefer skinless salmon, you can remove the skin by making a small cut between the flesh and the skin at the tail end. Hold the skin firmly and run the knife along the flesh, keeping it angled slightly towards the skin. This technique ensures minimal flesh loss.
Maintaining Your Boning Knife
To keep your boning knife in top condition, regularly sharpen the blade and clean it thoroughly after each use. Store it in a knife block or sheath to protect the blade and ensure safety in your kitchen. For more on knife care, check out should you buy a boning knife.
Common Mistakes to Avoid
Using a Dull Knife
A dull knife increases the risk of accidents and makes the task more difficult. Always ensure your knife is sharp before starting.
Not Removing All Pin Bones
Failing to remove all pin bones can be unpleasant for diners. Take your time to ensure all bones are removed.
Benefits of Deboning Your Own Salmon
Deboning your own salmon allows you to control the quality of your fish and can save you money compared to buying pre-filleted fish. It also reduces waste and gives you the satisfaction of mastering a new kitchen skill.

FAQs
Why is a boning knife necessary for salmon?
A boning knife is necessary because its thin, flexible blade allows for precise cuts and easy navigation around bones, minimizing waste.
Can I use a regular knife instead?
While you can use a regular knife, a boning knife is specifically designed for this task, making it much easier and efficient.
How do I keep my boning knife sharp?
Regularly use a sharpening stone or honing rod to maintain a sharp edge on your boning knife. Proper storage also helps maintain its sharpness.
For more detailed information about boning knives, you can visit the Wikipedia page on boning knives.
This article contains affiliate links. We may earn a commission at no extra cost to you.


