The blacksmith knife making process is a fascinating blend of traditional craftsmanship and practical metallurgy. Whether you are a hobbyist, aspiring bladesmith, or simply curious about how a piece of steel transforms into a functional and beautiful knife, understanding each stage can deepen your appreciation for the craft. This article breaks down the essential steps, tools, and techniques involved in forging a knife by hand, offering a clear roadmap from raw material to finished blade.
Before diving into the details, it’s helpful to note that the journey of creating a forged knife involves more than just hammering hot steel. It requires careful planning, attention to detail, and a solid grasp of both safety and technique. For those seeking more advanced forging tutorials, resources like the blade forging tutorial by Jim Saviano, Master Smith can provide additional insights into specialized methods.
Essential Tools and Materials for Knife Forging
Before starting the blacksmith knife making process, it’s important to gather the right equipment and materials. The following are the basic tools and supplies needed:
- Forge: A heat source capable of reaching high temperatures, such as a coal, propane, or induction forge.
- Anvil: A solid surface for shaping hot metal.
- Hammer: Various types, but a cross-peen or rounding hammer is commonly used.
- Tongs: For safely holding and manipulating hot steel.
- Steel Stock: High-carbon steel is preferred for blades due to its hardness and edge retention.
- Grinder or Files: For refining the blade’s shape and edge.
- Quenching Tank: Filled with oil or water for hardening the blade.
- Protective Gear: Gloves, apron, and safety glasses are essential for safety.
Having these tools ready ensures a smoother workflow and helps maintain safety throughout the process.
Preparing the Steel: The First Step in Forging
The journey begins with selecting and preparing the steel. Most bladesmiths choose a bar of high-carbon steel, such as 1095, 1084, or O1 tool steel, because these materials can be hardened and tempered effectively. The steel is cut to a length slightly longer than the intended knife to allow for shaping and loss during forging.
Once the steel is cut, it’s cleaned to remove any rust, scale, or oil. This ensures even heating and prevents impurities from affecting the blade’s integrity. The steel is then placed in the forge and heated until it reaches a bright orange or yellow color, typically between 1,500°F and 2,000°F (815°C to 1,090°C). At this temperature, the metal becomes malleable and ready for shaping.
Forging the Blade: Shaping and Drawing Out
With the steel at forging temperature, the next phase is to shape the blade. This involves a series of hammer blows to draw out the steel, creating the basic profile of the knife. The smith starts by forming the tang—the portion of the blade that will extend into the handle. After establishing the tang, attention shifts to the blade itself.
Forging the bevels, or the angled edges leading to the cutting edge, is a critical step. The smith carefully hammers along the edge, gradually thinning and widening the steel to form the blade’s geometry. Consistency is key, as uneven hammering can lead to warping or weak spots. Throughout this stage, the blade is reheated as needed to maintain workability.
Once the rough shape is achieved, the blade is normalized by heating it to a critical temperature and allowing it to cool slowly. This relieves internal stresses and refines the grain structure, setting the stage for further refinement.
Refining the Blade: Grinding and Filing
After forging, the blade is often covered in scale—a layer of oxidized metal. The next step is to clean up the blade using a grinder or files. This process removes scale, smooths out hammer marks, and allows the maker to refine the blade’s profile and bevels. At this stage, the smith can also add features such as a ricasso (the unsharpened portion near the handle) or a fuller (a groove along the blade for strength and weight reduction).
Careful grinding ensures the blade is symmetrical and balanced. The edge is left slightly thick to prevent warping during heat treatment, which comes next in the blacksmith knife making process.
Heat Treatment: Hardening and Tempering
Heat treatment is a defining moment in the creation of a forged blade. The process involves two main steps: hardening and tempering. First, the blade is heated to its critical temperature—usually a bright red or orange—then quickly quenched in oil or water. This rapid cooling hardens the steel, making it capable of holding a sharp edge.
However, hardened steel is also brittle. To restore toughness and prevent breakage, the blade is tempered. This involves reheating the blade to a lower temperature (typically 350°F to 450°F or 175°C to 230°C) and allowing it to cool slowly. Tempering strikes a balance between hardness and flexibility, resulting in a blade that is both durable and functional.
Final Steps: Finishing, Sharpening, and Handle Assembly
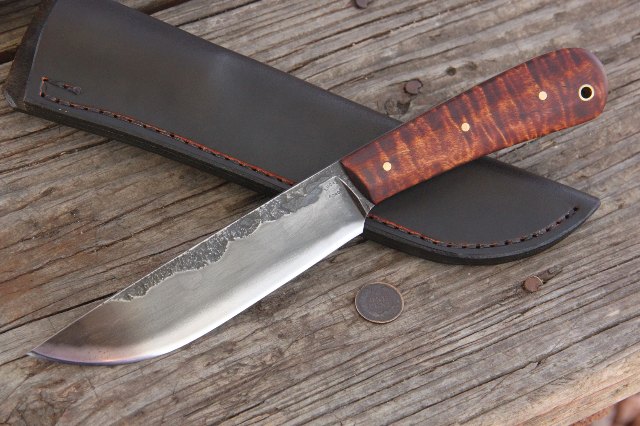
With the blade heat-treated, the final stages focus on finishing and assembly. The blade is cleaned and polished, often using progressively finer abrasives to achieve a smooth, even surface. The edge is then ground to its final sharpness, taking care not to overheat and ruin the temper.
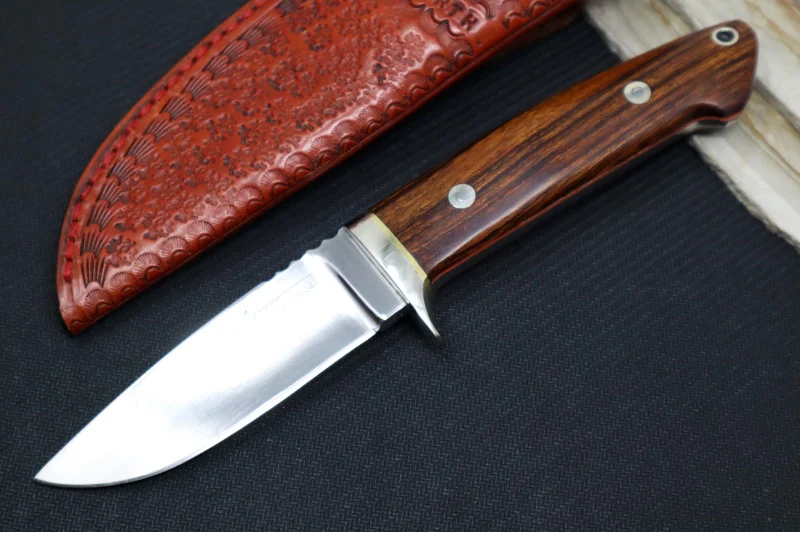
Handle construction varies depending on design and materials. Common handle materials include wood, bone, micarta, or synthetic composites. The tang is fitted into or between handle scales, which are then secured with pins, rivets, or epoxy. The handle is shaped and sanded for comfort and aesthetics.
Once assembled, the knife undergoes a final inspection and any necessary touch-ups. The result is a handcrafted tool that reflects both the skill and artistry of the maker.
Common Challenges and Tips for Beginners
Starting out in knife forging can be intimidating, but understanding common pitfalls can help you progress more quickly. Here are a few tips for those new to the craft:
- Practice Hammer Control: Focus on even, controlled blows to avoid warping or uneven bevels.
- Monitor Temperature: Overheating can burn the steel, while underheating makes it difficult to shape. Learn to read the color of the metal.
- Normalize Often: Normalizing between forging stages helps reduce internal stresses and improves blade quality.
- Be Patient: Rushing through grinding or heat treatment can lead to mistakes. Take your time for the best results.
Learning the blacksmith knife making process is a journey that rewards patience, attention to detail, and a willingness to learn from each project.
Frequently Asked Questions
What type of steel is best for forging knives?
High-carbon steels like 1095, 1084, and O1 are popular choices due to their ability to harden and hold a sharp edge. Stainless steels can also be used, but they often require more advanced equipment and techniques.
How long does it take to forge a knife by hand?
The time required depends on the complexity of the design and the maker’s experience. A simple utility knife may take several hours, while more intricate blades with detailed handles or decorative elements can take days or even weeks to complete.
Is forging a knife dangerous?
There are inherent risks, including burns, cuts, and exposure to hot metal and sparks. Proper safety gear—such as gloves, eye protection, and a leather apron—along with a well-ventilated workspace and adherence to safe practices, can minimize these risks.