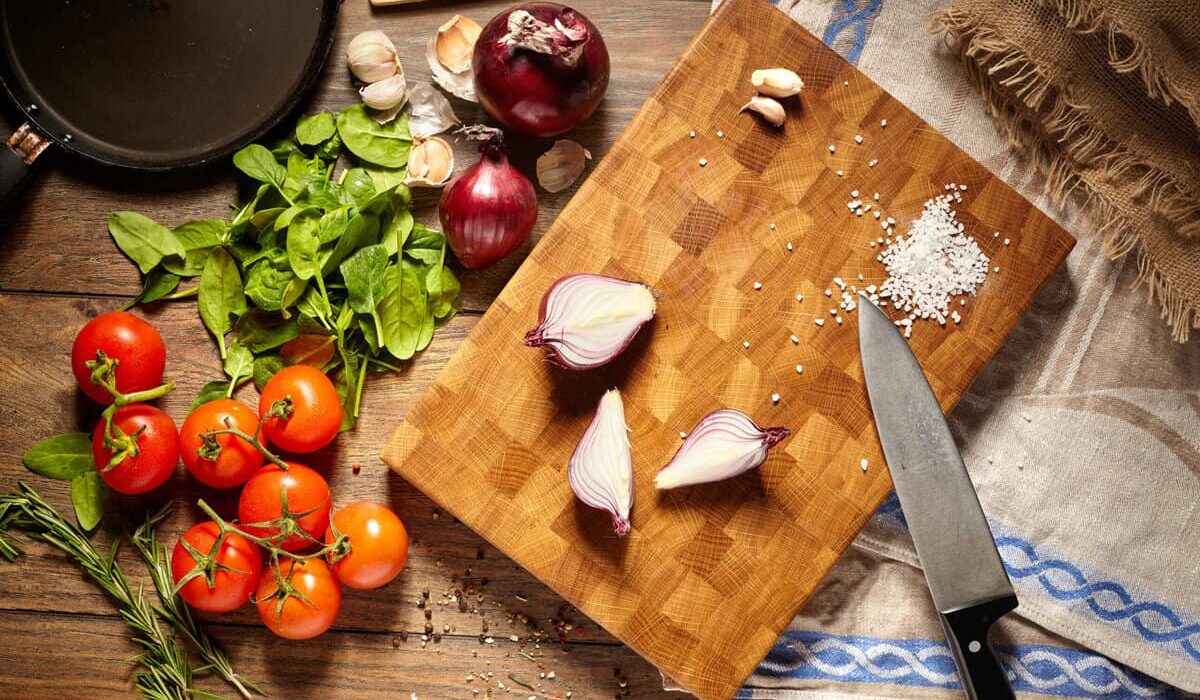
If you’ve ever wanted to know how to make a cheese cutting board, you’re in the right place. In the world of kitchen professionals and DIY enthusiasts, a cheese cutting board is both a functional and aesthetic piece that adds value to any kitchen.
Making your own cheese cutting board not only allows you to customize its size, shape, and design but also provides a tremendous sense of accomplishment. This article will guide you through each step, from gathering materials to the final finish. By the end, you’ll be delighted to present your very own handcrafted cheese cutting board.

Materials Needed for Your Cheese Cutting Board
Before diving into the crafting process, ensure you have all the essential materials:
- High-quality hardwood (maple, walnut, or cherry)
- Mineral oil for finishing
- Wood glue
- Clamps
- Sanding paper (various grits)
- Measuring tape
- Pencil
- Woodworking tools (table saw, miter saw, planer, etc.)
Choosing the Right Wood
The choice of wood is crucial in crafting a cheese cutting board. Popular choices include:
- Maple: Known for its durability and light color.
- Walnut: Offers a rich, dark look and is highly durable.
- Cherry: Provides a warm color and smooth texture.
Each type of wood has its advantages, but the key is to select a hardwood that is food-safe and resistant to cuts.

Safety First
Working with wood requires careful attention to safety. Here are some tips:
- Wear protective eyewear and gloves.
- Ensure your workspace is clean and organized.
- Follow all instructions for your tools and equipment.
Measuring and Cutting the Wood
Begin by measuring the wood according to the desired size of your cheese cutting board. Common sizes are:
- Small: 8′ x 6′
- Medium: 12′ x 8′
- Large: 18′ x 12′
Use a saw to cut the wood to size. Ensure all pieces are uniform for a neat look.
Gluing and Clamping
Next, apply wood glue to the edges of the cut pieces and press them together. Use clamps to secure the pieces until the glue dries. This step is vital for the boards strength and stability.
Sanding the Board
Sanding smoothens the surface of your cheese cutting board and preps it for finishing:
- Start with a coarse grit (60-80) to remove rough edges.
- Progress to a medium grit (120) for smoothing.
- Finish with a fine grit (220) for a polished look.
Finishing Touches
Once sanded, its time to finish your cheese cutting board:
- Apply food-grade mineral oil to condition the wood.
- Reapply as necessary until the wood no longer absorbs oil.
- Let the board dry completely before using.
Maintaining Your Cheese Cutting Board
Proper maintenance ensures your cheese cutting board lasts:
- Regularly apply mineral oil to keep the wood conditioned.
- Hand wash with mild soap and water; avoid submerging in water.
- Occasionally sand lightly to remove any surface scratches.
Customizing Your Cheese Cutting Board
Consider adding personalized touches:
- Engrave initials or designs.
- Mix wood types for a unique look.
- Add handles or feet for added functionality.
Frequently Asked Questions
What is the best wood for a cheese cutting board?
Popular woods include maple, walnut, and cherry due to their durability and food-safe properties.
Can I use other oils to finish my cheese cutting board?
Its recommended to use food-grade mineral oil as it is safe and non-toxic for a cutting surface.
How often should I oil my cheese cutting board?
Apply oil regularly, especially when the wood appears dry. This can range from once a month to several times a year, depending on usage.
Internal and External Resources
For additional tips on maintaining cutting boards, check out this external guide.
Want to master more cutting board crafts? Visit these links:
As an Amazon Associate, I earn from qualifying purchases.
