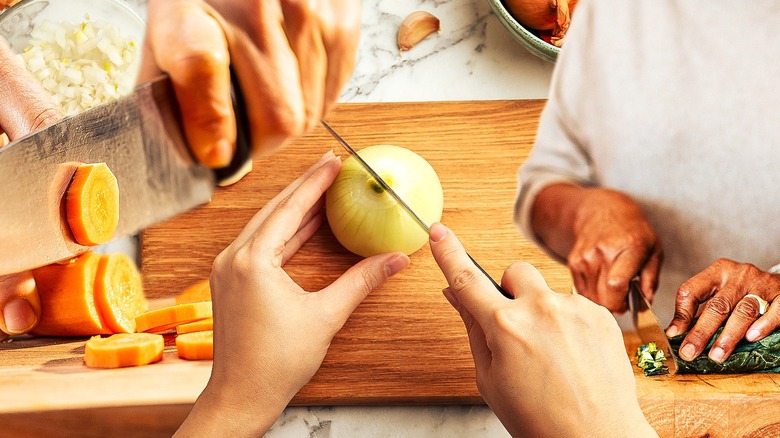
When you’re looking to undertake a kitchen project, knowing how to glue up a cutting board is an excellent place to start. Whether you’re a professional chef or a woodworking enthusiast, creating your own custom cutting board is a tremendously rewarding endeavor. In the next few paragraphs, well guide you through all the steps, from selecting materials to finishing your masterpieces.

Introduction: The Beauty of a Custom Cutting Board
Theres something incredibly satisfying about using a cutting board you’ve made yourself. Not only is it a practical tool, but it also adds a personal touch to your kitchen. Here’s why many are delighted to create their own boards: a custom cutting board can be made to any size, shape, and type of wood that you prefer.
Essential Materials for Gluing Up a Cutting Board
To ensure your cutting board is durable and lasts a long time, you will need the right materials. Heres a list of what you will need:
Choosing the Right Wood
The type of wood you choose is crucial. Here are some common choices:
- Maple: Known for its durability and tight grain.
- Walnut: Offers a rich, dark color and is very popular.
- Cherry: Adds a beautiful reddish finish over time.
Glue: The Unsung Hero
The glue you use is just as important as the wood itself. A good quality wood glue, like Titebond III, is waterproof and FDA-approved for indirect food contact.
Tools Youll Need
Having the right tools will make your project go smoothly. These include:
- Clamps: Essential for holding the wood together while the glue dries.
- Planer or SandPaper: To ensure your cutting board is smooth.
- Table Saw or Miter Saw: For making precise cuts in the wood.

Step-by-Step Guide to Gluing Up a Cutting Board
Step 1: Cut Your Wood
Begin by cutting your wood into strips. The width can vary based on your preference. Use a table saw for precise cuts.
Step 2: Arrange Your Strips
Lay out your wood strips in a manner that appeals to you. Remember, the pattern you choose will be final once the glue sets.
Step 3: Apply the Glue
Apply a generous amount of wood glue to the edges of each strip. Use a brush to spread it evenly. You may refer to this external link for more guidance on wood selection and preparation.
Step 4: Assemble and Clamp
Press the strips together and use clamps to hold them in place. Ensure the glue spreads out evenly to avoid weak spots.
Step 5: Let It Dry
Allow the glue to dry for at least 24 hours. This is crucial for ensuring the strength and durability of your cutting board.
Step 6: Planing and Sanding
Once dried, use a planer or sandpaper to smooth the surface. Start with a coarser grit and work your way up to a finer one.
Step 7: Finishing Touches
Apply a food-safe finish, like mineral oil, to give your cutting board a polished look and added protection. This finishing touch not only enhances the woods natural beauty but also protects it from moisture.
Maintaining Your Cutting Board
Regular maintenance is required to keep your board in top shape. Here are some tips:
- Oil Your Board Regularly: Apply mineral oil every few weeks to maintain its sheen and moisture resistance.
- Clean Properly: Avoid soaking your board in water. Instead, clean it with a damp cloth and mild soap. For more on cleaning, check out this guide on cleaning a cutting board.
- Sand Out Rough Spots: If your board develops rough patches or knife marks, a light sanding will restore its smooth surface.
Common Mistakes and How to Avoid Them
Even with the best instructions, mistakes can happen. Here are some common ones and how to avoid them:
Not Enough Glue
Using too little glue can result in weak joints. It’s better to over-apply and wipe off the excess than to under-apply.
Improper Clamping
Not clamping tightly enough can leave gaps. Make sure to apply even pressure with your clamps.
Skipping the Drying Time
Allow the glue to dry fully; rushing this step can compromise the board’s integrity.
FAQs on How to Glue Up a Cutting Board
1. How long should I let the glue dry?
It’s best to let the glue dry for at least 24 hours to ensure maximum strength and durability.
2. What type of finish is food-safe?
Mineral oil is an excellent food-safe option. Other choices include beeswax and specialized cutting board oils.
3. Can I use any type of wood?
Not every wood is suitable for cutting boards. Hardwoods like maple, walnut, and cherry are good choices due to their durability and grain structure. For more details, refer to this external resource.
Conclusion: The Joy of Creating Your Cutting Board
Creating a cutting board is not only a fun and rewarding project but also provides you with a customized kitchen essential. Whether it’s a gift or for personal use, a handmade cutting board is both practical and beautiful. Follow these steps, and youll be delighted with the result of your craftsmanship!
As an Amazon Associate, I earn from qualifying purchases.
