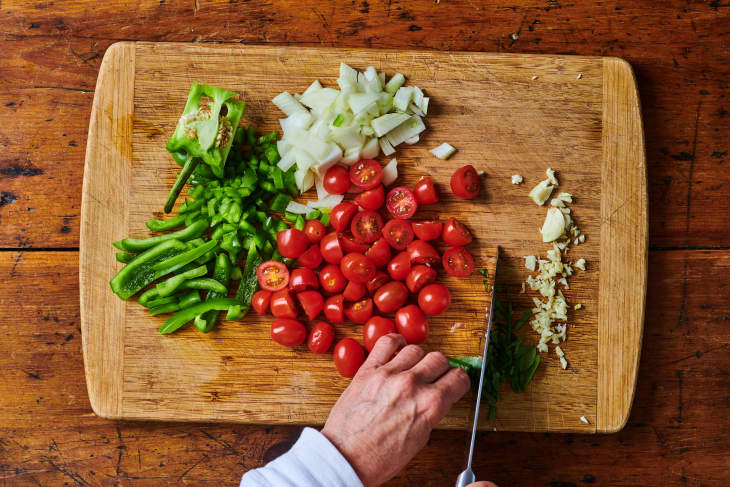
Creating a juice groove in a cutting board is an essential skill for any kitchen professional or enthusiast. Not only does it enhance the cutting board’s functionality by catching juices from vegetables, meat, and fruits, but it also adds a professional touch to your kitchen tools.
This comprehensive guide will walk you through all the steps necessary on how to cut juice groove in cutting board effectively using various methods, tools, and techniques.

Understanding the Basics
What is a Juice Groove?
A juice groove is a shallow trench or channel carved around the edges of a cutting board. Its primary purpose is to catch and hold the juices released from cutting foods, preventing them from spilling over your countertop.
Benefits of Having a Juice Groove
Professionals in the kitchen often prefer cutting boards with juice grooves for several reasons:
- Prevents flow of liquids onto the countertop.
- Keeps the workstation clean and organized.
- Reduces the risk of cross-contamination.
- Adds aesthetic and functional value to your cutting board.
Types of Cutting Boards Suitable for Juice Grooves
While a variety of cutting boards can feature juice grooves, those made from wood are most popular due to their durability and ease of carving.

Tools and Materials You’ll Need
Essential Tools
- Router
- Router bits (preferably a vee or round-over bit)
- Router table or edge guide
- Clamps
- Measuring tape and pencil
Materials
- Wooden cutting board
- Sandpaper (various grits)
- Wood finish or mineral oil

Step-by-Step Guide
Preparing the Cutting Board
Ensure your cutting board is clean and dry. If it’s a new board, give it a quick sanding to remove any roughness. Mark the area where you want the groove to go using a pencil.
Setting Up the Router
Attach the appropriate router bit to your router. Adjust the depth settings on the router depending on how deep you want the juice groove to be.
Cutting the Groove
Secure the cutting board to your workbench using clamps. Use a router table or edge guide to maintain uniformity in the groove’s path. Carefully guide the router along the marked path, making sure to keep your movements steady and consistent.
Sanding and Finishing
After routing the groove, use sandpaper to smooth any rough edges. Apply a food-safe wood finish or mineral oil to seal and protect the wood. This will also highlight the wood’s natural beauty.
Alternative Methods for Cutting a Juice Groove
Using a Chisel and Mallet
If you don’t own a router, a chisel and mallet can also be used to carve a juice groove. This method requires a steady hand and patience but can yield excellent results.
Handheld Router for Intricate Designs
For those who prefer more control, a handheld router allows for intricate designs and patterns within the juice groove. This method is particularly useful for custom designs and adding a personal touch to your cutting board.
Consult a Professional
If you’re unsure about your skills, consider consulting a professional woodworker to handle the task for you. Either way, you’ll end up with a high-quality cutting board.
Care and Maintenance
Regular Cleaning
After using your cutting board with a juice groove, it’s important to clean it regularly to maintain its functionality and appearance. Use mild soap and water, and avoid soaking it as this could warp the wood.
Occasional Sanding
Depending on frequency of use, you’ll need to occasionally sand and reapply finishes to maintain the surface and functionality of the groove.
For more tips on cleaning cutting boards, you can read here.
Apply Food-safe Finish
Regularly apply a food-safe finish to maintain the wood’s durability and enhance its appearance.
Expert Tips and Tricks
Mark the Path Ahead
Always mark the path for your groove ahead of time. This ensures uniformity and reduces the risk of mistakes.
Practice on Scrap Wood
Before you start working on your cutting board, practice on a piece of scrap wood. This will help you get a feel for the tools and better understand the technique.
Keep Your Tools Sharp
Sharp tools make cleaner cuts and reduce the risk of damaging the wood. Ensure your router bits and chisels are sharpened before you begin.
FAQs
How deep should the juice groove be?
The groove should be deep enough to catch juices but not so deep that it weakens the cutting board. A depth of about 1/8 to 1/4 inch is usually sufficient.
What type of finish should I use?
Use a food-safe finish like mineral oil or beeswax. Avoid using finishes that are not intended for food contact, as they could be harmful.
Can I use this method on plastic cutting boards?
While it’s possible, plastic cutting boards are generally more difficult to work with and may not yield the same results as wood. For more detailed information on taking care of different cutting boards, check this guide.
Using this guide on how to cut juice groove in cutting board, you’ll transform your ordinary cutting board into a highly functional kitchen tool. The process is straightforward but requires attention to detail and the right tools.
For more cutting board tips and methods, visit our other related articles: Cook Chicken, Boneless Ribs, and Cook Pernil.
As an Amazon Associate, I earn from qualifying purchases.
