There’s nothing quite like the flavor of perfectly cooked BBQ ribs. If you’re wondering how to cook BBQ ribs on a gas grill and achieve that melt-in-your-mouth tenderness, you’re in the right place. This comprehensive guide will walk you through the entire process, ensuring you can impress your guests with mouthwatering ribs that are cooked to perfection.
Why Choose a Gas Grill for BBQ Ribs?
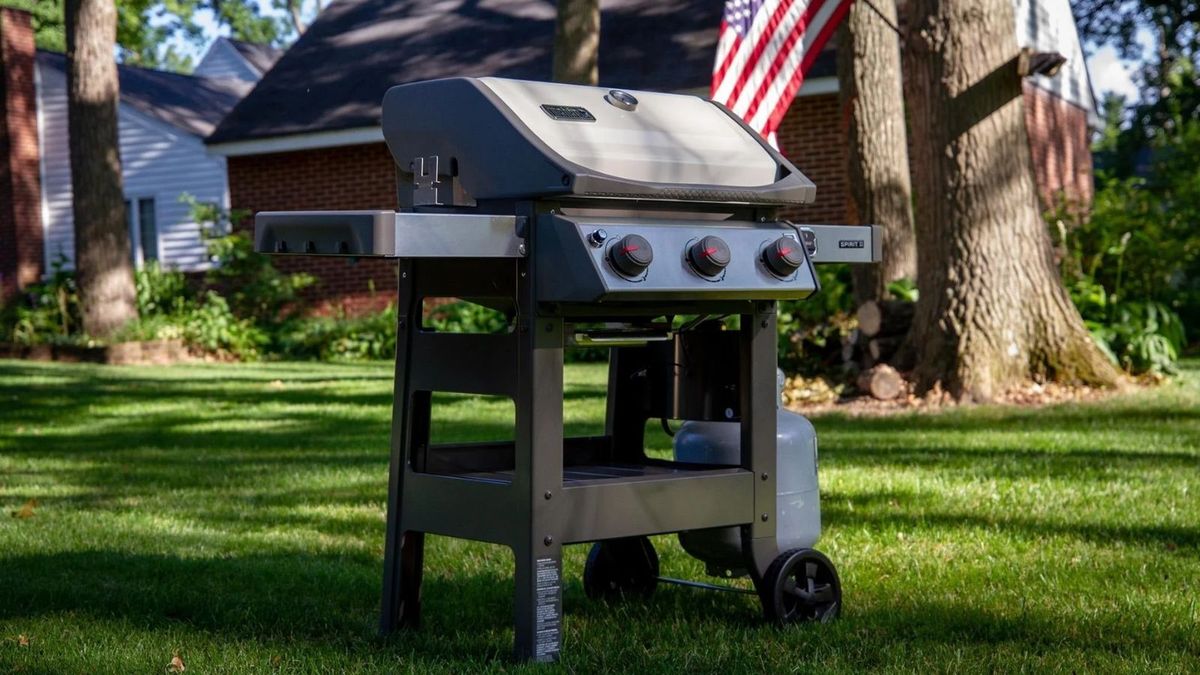
When it comes to outdoor cooking, using a gas grill offers numerous advantages, especially for BBQ ribs. Gas grills provide better temperature control, quicker preheating, and cleaner, easier maintenance compared to charcoal grills. By understanding how to cook BBQ ribs on a gas grill, you can enjoy deliciously smoky flavors without the fuss of dealing with charcoal and wood.
Ingredients
- 2 racks of baby back ribs
- 1/4 cup of olive oil
- 1/4 cup of your favorite BBQ rub
- 1 cup of apple juice
- Your favorite BBQ sauce

Prepping Your Ribs
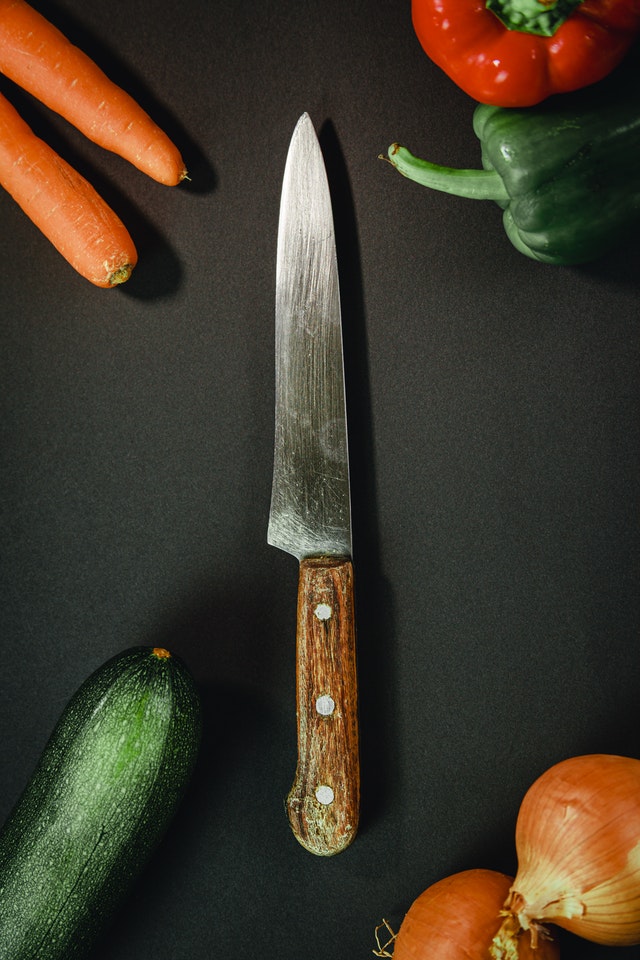
Before you start grilling, it’s crucial to properly prepare your ribs. Here’s a step-by-step guide: Sharpen a chef knife, Sharpen Rapala filet knife. Start by removing the membrane from the back of the ribs. This tough skin can hinder flavor penetration and make the ribs chewy. Use a Serbian chef knife or any sharp knife to loosen the corner of the membrane, then grip it with a paper towel and peel it off. This step can make a significant difference in the tenderness of your ribs.
Applying the Rub
Next, coat your ribs with olive oil, which helps the BBQ rub adhere better and adds moisture. Generously apply the BBQ rub to both sides of the ribs, ensuring even coverage. The olive oil and rub combination creates a flavorful crust that seals in juices during grilling. For an extra kick, consider marinating the ribs in the fridge for at least an hour, but overnight for maximum flavor absorption.

Setting Up Your Gas Grill
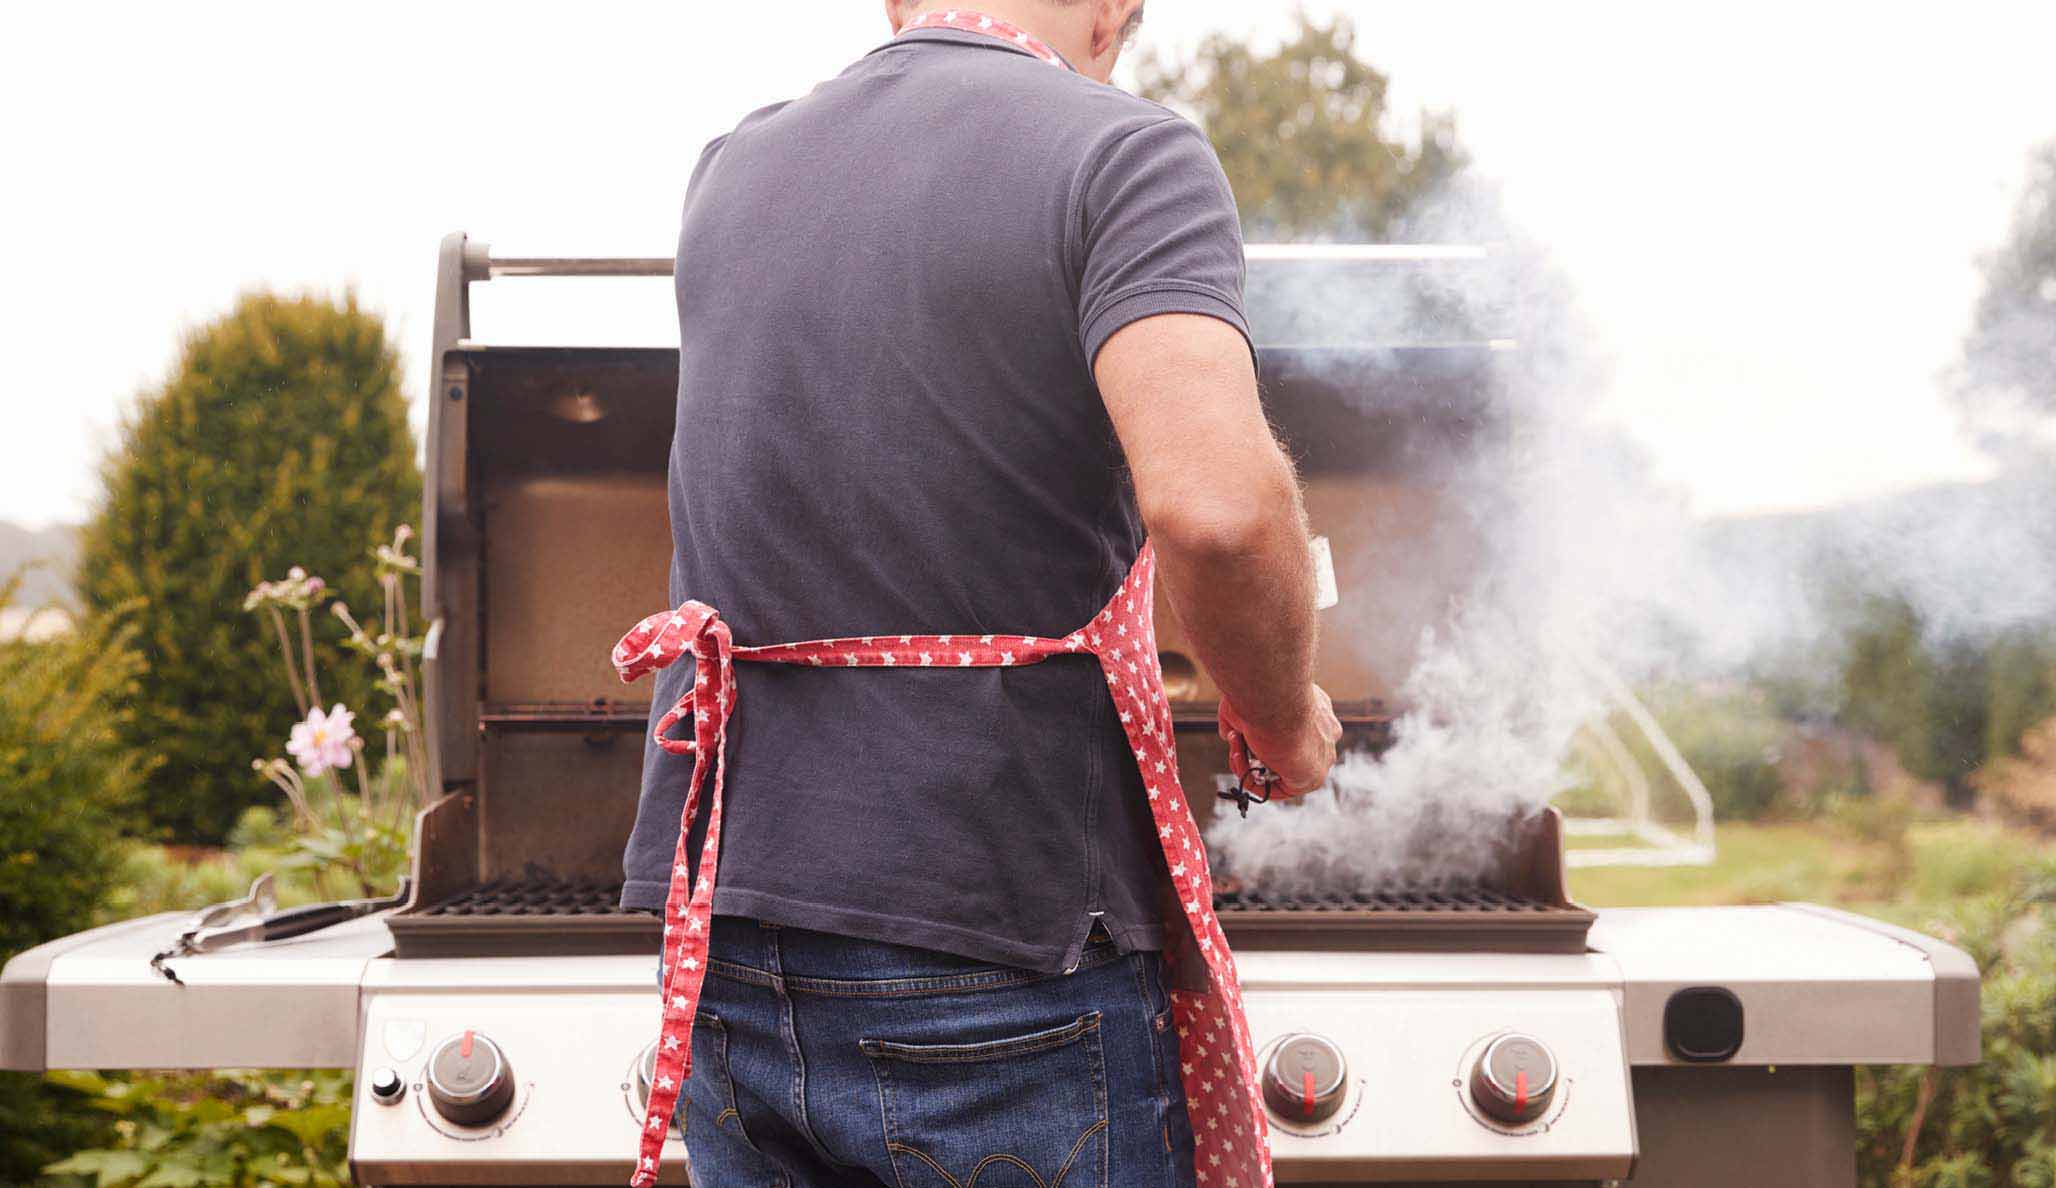
Properly setting up your gas grill is pivotal for achieving perfectly cooked BBQ ribs. Preheat your gas grill to 225F. This low and slow cooking method ensures tender and juicy ribs. Create indirect heat zones by lighting burners on one side of the grill, leaving the opposite side unlit. Place a smoker box with wood chips (hickory, apple, or cherry) over the lit burners for that authentic smoky flavor. Additionally, consider using a drip pan filled with water under the ribs to maintain moisture and catch drippings.
Grilling the Ribs
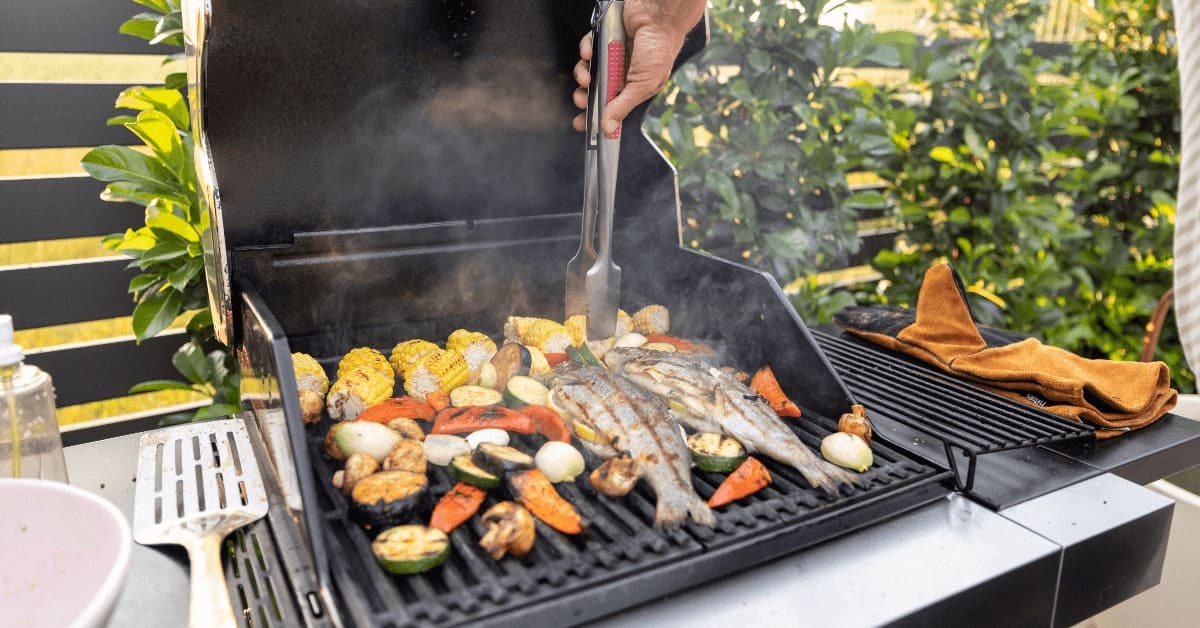
Place the seasoned ribs bone-side down on the unlit side of the grill. Close the lid and maintain the temperature at 225F. This indirect grilling method replicates a smoker, allowing the ribs to cook evenly without direct heat. Every hour, spritz the ribs with apple juice using a spray bottle. The apple juice adds moisture and enhances the smoky flavor. After 2 to 3 hours, check the internal temperature of the ribs using a meat thermometer. The ideal temperature for BBQ ribs is around 190F for tender results.

Final Touches
During the last 30 minutes of grilling, brush your favorite BBQ sauce onto the ribs. This step adds a delicious glaze and enhances the overall flavor. Be cautious not to add the sauce too early to prevent burning. For a caramelized finish, you can move the ribs over direct heat briefly, flipping occasionally, but monitor closely to avoid charring. Once the ribs are ready, remove them from the grill and let them rest for 10-15 minutes. This resting period allows the juices to redistribute, resulting in juicy, flavorful BBQ ribs.
Carving and Serving
Use a sharp chef knife to carve the ribs between the bones. Cut them into individual portions or leave them in larger sections based on your preference. Arrange the ribs on a platter, and serve with extra BBQ sauce on the side. Pair your delicious BBQ ribs with classic sides like coleslaw, cornbread, or baked beans for a complete and satisfying meal.
Cleaning Up
After enjoying your BBQ rib feast, it’s essential to clean your gas grill and other cookware properly. Use a cookware cleaner for your grill grates, and don’t forget to condition your cutting board with a quality cutting board conditioner. Proper maintenance ensures the longevity of your tools and keeps them in top-notch condition for your next grilling adventure.
As an Amazon Associate, I earn from qualifying purchases.


