Welcome to the ultimate guide on how to slow cook ribs on a Weber gas grill. This in-depth article will explore every aspect of slow-cooking ribs to perfection, ensuring you achieve a tender, flavorful outcome that will leave your taste buds singing. Cooking ribs slowly on a grill can be a daunting task if you are new to it, but with our expert tips and step-by-step guide, you’ll soon become a grilling pro. So, roll up your sleeves, and let’s get started!

The Charm of Slow-Cooked Ribs
There is something magical about the process of slow-cooking ribs. When done correctly, the low and slow method transforms a tough cut of meat into juicy, tender delicacies that fall off the bone. The key is patience and the right technique, two essential aspects we will thoroughly cover in this guide.
When you master the process of slow-cooking ribs, you unlock a world of delicious possibilities. Whether you are hosting a summer barbecue or preparing a special meal for your family, slow-cooked ribs will always be a crowd-pleaser.

Choosing the Right Ribs for Grilling
The first step in mastering how to slow cook ribs on a Weber gas grill is selecting the right ribs. There are two main types of ribs: pork ribs and beef ribs. Within these categories, you will find subcategories such as baby back ribs, spare ribs, and short ribs. Let’s delve into each type:
Pork Ribs
- Baby Back Ribs: Cut from the upper part of the ribcage near the spine, baby back ribs are smaller and more tender compared to spare ribs. They cook faster and are ideal for those who prefer leaner meat.
- Spare Ribs: These are cut from the lower part of the ribcage and have more fat content, which renders down during slow cooking, resulting in rich, juicy meat. Spare ribs are larger and harder than baby back ribs, making them ideal for slow cooking.
Beef Ribs
- Short Ribs: Short ribs are popular for grilling because they have a rich, beefy flavor and a good amount of marbling, which keeps the meat moist during slow cooking.
- Back Ribs: These come from the rib section and are larger and more challenging than short ribs. They require a longer cooking time but reward you with succulent meat when cooked correctly.
No matter which type of ribs you choose, cooking them slowly on a Weber gas grill will elevate their flavor to new heights.

Essential Equipment for Slow-Cooking Ribs
Before diving into the cooking process, ensure you have the necessary equipment and tools for a successful grilling experience. Here is a list of essentials:
Weber Gas Grill:
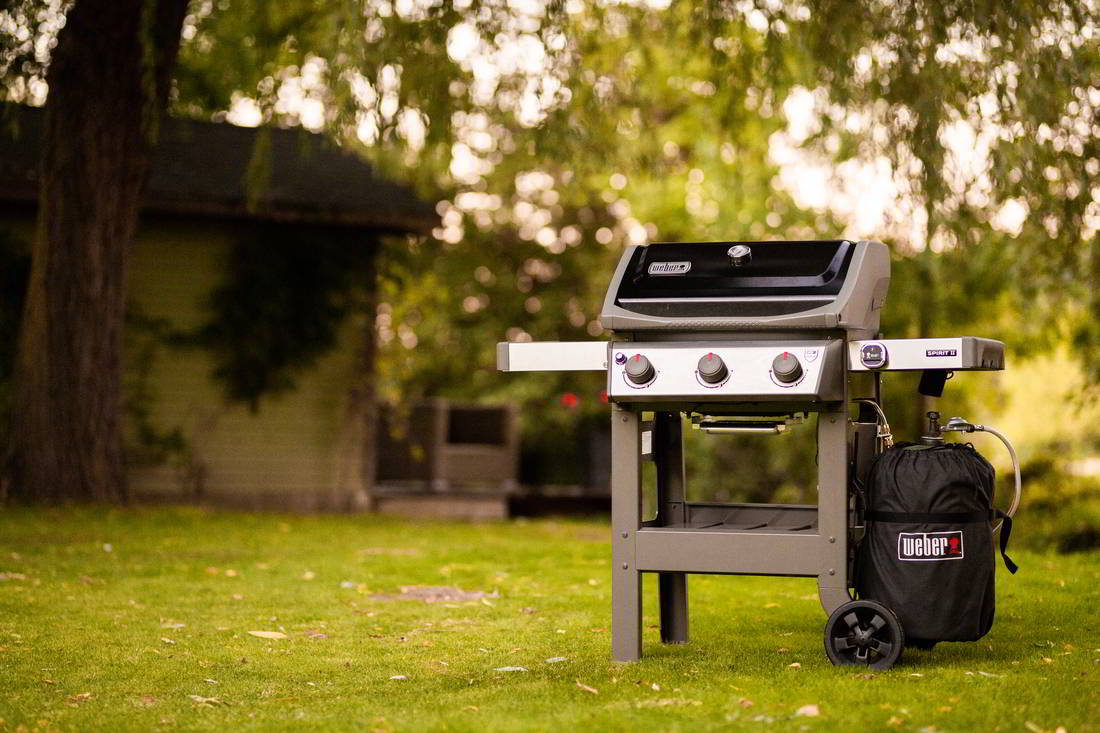
A high-quality gas grill is the foundation of our cooking method. The Weber gas grill is renowned for its consistent heat and even cooking, making it perfect for slow-cooking ribs. Ensure your grill has at least two burners to create a dual-zone cooking setup. Check out the latest Weber gas grills here.
Meat Thermometer:
Monitoring the internal temperature of the ribs is crucial for ensuring they are cooked to perfection. Invest in a reliable meat thermometer to accurately gauge the doneness of the ribs without opening the grill lid frequently.
Wood Chips:
For that classic smoky flavor, add wood chips to your grilling setup. Popular options include hickory, apple, and cherry wood. Soak the wood chips in water for at least 30 minutes before placing them in a smoker box on the grill.
Knife and Cutting Board:
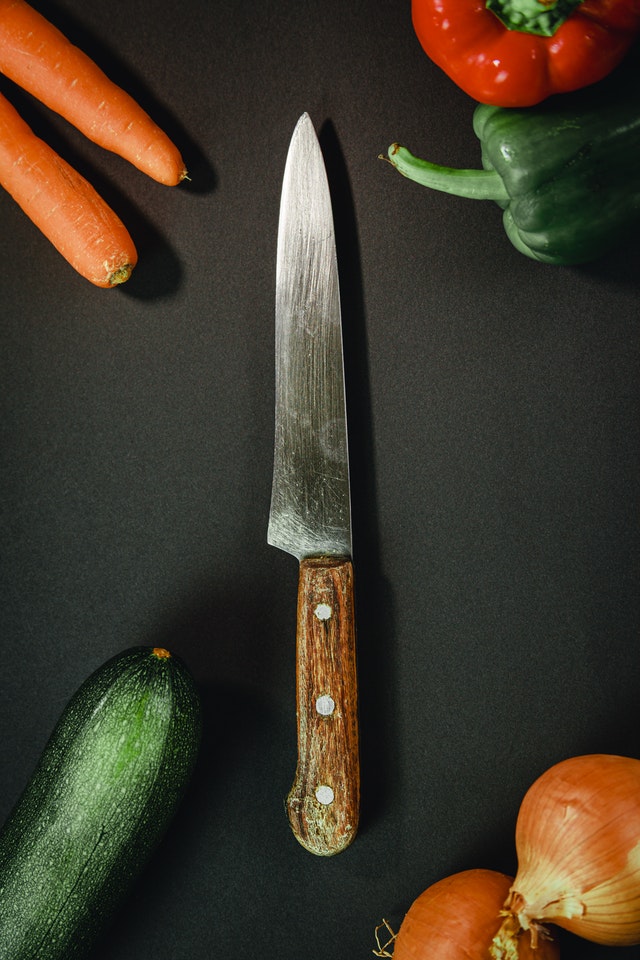
A sharp knife and a sturdy cutting board are essential for prepping the ribs and slicing them once they are cooked. For professional-grade knives and cutting boards, visit this link.
Preparing the Ribs for Grilling
Proper preparation is essential for achieving the perfect slow-cooked ribs. Follow these steps to ensure your ribs are ready for the grill:
Remove the Membrane
The membrane is a thin, silvery layer on the backside of the ribs that can become tough when cooked. To remove it, use a knife to loosen one corner of the membrane, then grip it with a paper towel and peel it off. Removing the membrane allows the seasoning and smoke to penetrate the meat better.
Seasoning the Ribs
Seasoning is crucial for flavoring the ribs. There are many ways to season ribs, but a dry rub is the most popular method. A dry rub combines spices and herbs that coat the ribs, forming a flavorful crust as they cook. Experiment with different dry rub recipes, but here is a basic recipe to get you started:
Basic Dry Rub Recipe
- 1/4 cup brown sugar
- 1/4 cup paprika
- 2 tablespoons black pepper
- 2 tablespoons salt
- 1 tablespoon chili powder
- 1 tablespoon garlic powder
- 1 tablespoon onion powder
- 1 teaspoon cayenne pepper
Mix all the ingredients well and generously apply the rub to both sides of the ribs. Let the ribs sit with the rub on for at least 30 minutes, preferably overnight, to allow the flavors to penetrate the meat.
Setting Up the Weber Gas Grill
A proper grill setup is crucial for slow-cooking ribs. Follow these steps to create the optimal grilling environment:
Creating a Dual-Zone Cooking Area
A dual-zone cooking setup involves having one side of the grill with direct heat and one side with indirect heat. This setup allows you to sear the ribs initially and then slow-cook them without exposing them to direct flame. To create a dual-zone setup on your Weber gas grill, follow these steps:
1. Preheat your grill by turning all burners to high for 10-15 minutes.
2. After preheating, turn off one burner to create an indirect heat zone.
3. Adjust the other burners to maintain a consistent temperature of around 225F to 250F (107C to 121C).
Adding Wood Chips for Smoke
Wood chips enhance the flavor of the ribs by adding a smoky element. To incorporate wood chips into your grilling process:
1. Soak the wood chips in water for at least 30 minutes.
2. Drain the wood chips and place them in a smoker box or wrap them in aluminum foil, poking a few holes for the smoke to escape.
3. Place the smoker box or foil packet on the heated side of the grill.
Slow-Cooking the Ribs
Now that your grill is set up, it’s time to start cooking the ribs. Follow these steps for perfect slow-cooked ribs:
Initial Searing
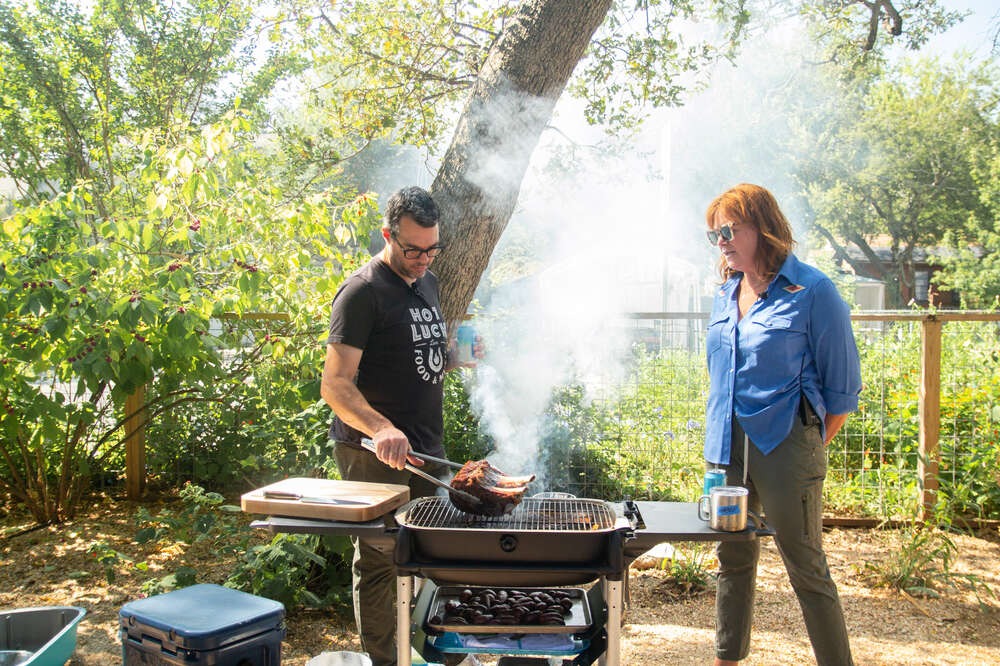
Searing the ribs on direct heat helps lock in the juices and create a flavorful crust. – Place the seasoned ribs on the direct heat side of the grill and sear each side for 3-5 minutes until a nice crust forms.
Once seared, move the ribs to the indirect heat side of the grill for the slow-cooking process.
Maintaining the Temperature
Stability is critical in slow-cooking ribs. Aim to maintain a consistent temperature of 225F to 250F (107C to 121C) throughout the entire cooking process. Use a meat thermometer to monitor the grill temperature and make necessary adjustments to the burners.
Aim to keep the grill cover closed as much as possible to retain the heat and smoke.
Cooking Time and Indicators of Doneness
Slow-cooking ribs is a time-consuming process. Depending on the type of ribs and their thickness, the cooking time can range from 3 to 6 hours. The following indicators will help you gauge when your ribs are done:
Internal Temperature
Use a meat thermometer to check the internal temperature of the ribs. For pork ribs, aim for an internal temperature of 190F to 203F (88C to 95C). For beef ribs, look for a temperature of 200F to 205F (93C to 96C).
Bend Test
Another method to check doneness is the bend test. Pick up the ribs with tongs, holding them in the middle. If the ribs bend and the meat starts to crack but doesn’t break, they are done.
The Importance of Resting the Ribs
Once your ribs reach the desired internal temperature, removing them from the grill and allowing them to rest is essential. Resting the ribs for 10-15 minutes helps the juices redistribute throughout the meat, making them even more tender and flavorful.
Serving Perfectly Slow-Cooked Ribs
After the resting period, it’s time to slice and serve your perfectly cooked ribs.
Use a sharp knife to slice the ribs between the bones, ensuring each piece has a good portion of meat.
Serve the ribs with your favorite barbecue sauce on the side, allowing your guests to add as much or as little as they prefer.
Consider serving the ribs with classic sides such as coleslaw, cornbread, and baked beans for a complete barbecue experience.
Cleaning and Maintenance
After a successful grilling session, cleaning your equipment properly for longevity and performance is essential. Here are some tips:
Clean the grates of your Weber gas grill using a grill brush to remove any residue.
Clean your knife and cutting board thoroughly to prevent cross-contamination. For high-quality cleaning products, check this article on how to season and clean cast iron cookware.
Use a cutting board conditioner to maintain the integrity of your cutting board.
Clean and season your grill regularly to prevent rust and ensure optimal performance for future grilling sessions.
Clean your knives properly after each use to maintain their sharpness and effectiveness. For more details, visit this comprehensive guide on how to sharpen your chef knife here.
As an Amazon Associate, I earn from qualifying purchases.


