
Sealing a wood cutting board is a crucial step that ensures its longevity and keeps your kitchen safe. As kitchen professionals, it is vital to know how to care for your essential tools. One of the fundamental ways to maintain your cutting board is through sealing. But, how to seal wood cutting board correctly? Let’s delve into the process with some terrific tips and insights.
Wood cutting boards are widely loved for their functionality and aesthetic appeal. However, they require regular maintenance to stay in top shape. A well-sealed wood cutting board not only prevents it from warping and cracking but also minimizes the risk of bacterial growth. This guide will walk you through everything you need to know about sealing your cutting board, from the materials you’ll need to the step-by-step process.
Why It’s Important to Seal Wood Cutting Boards
Preventing Moisture Damage
One of the main reasons to seal a wood cutting board is to prevent moisture damage. When wood absorbs water, it expands, leading to potential warping and cracking. A sealed cutting board is less susceptible to these issues.
Avoiding Bacterial Contamination
Sealing the wood also helps avoid bacterial contamination. When the wood is properly sealed, it creates a non-porous surface that is easier to clean and less likely to harbor bacteria.
Maintaining Aesthetic Appeal
A well-maintained cutting board looks aesthetically pleasing. Sealing the board brings out the wood’s natural beauty and extends its life.
Materials Needed for Sealing Your Wood Cutting Board
Before you start the sealing process, gather the following materials:
- Food-grade mineral oil
- Soft cloth or paper towels
- Wax or beeswax
- Sandpaper (optional)
- Clean, dry surface

Step-by-Step Guide on How to Seal Wood Cutting Board
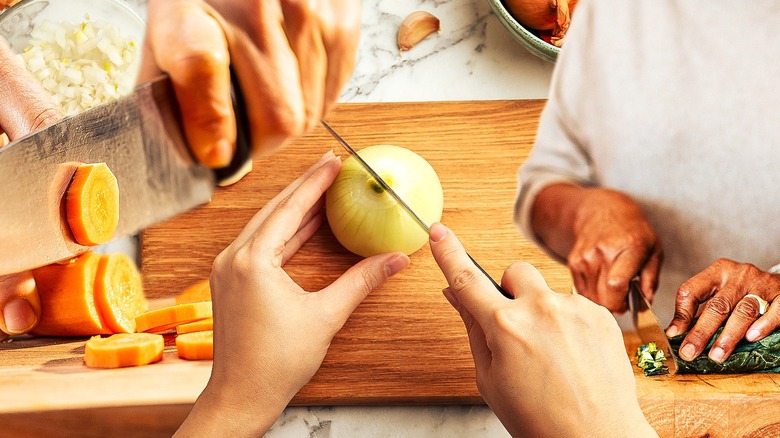
1. Cleaning the Board
Start by cleaning the cutting board thoroughly. Use warm soapy water to remove any food residue. Rinse well and let it dry completely.
2. Sanding the Surface
If your cutting board has any rough spots, use fine-grit sandpaper to smooth them out. This step is optional but can help achieve a more polished finish.
3. Applying Mineral Oil
Pour a generous amount of food-grade mineral oil onto the cutting board. Use a soft cloth or paper towel to spread the oil evenly across the surface and edges. Allow the oil to soak in for at least 20-30 minutes.
4. Wiping Off Excess Oil
After the oil has soaked in, use a clean cloth to wipe away any excess oil. Repeat this process until the wood no longer absorbs oil. This might require several applications.
5. Applying Wax for Extra Protection
For added protection, you can apply a layer of wax or beeswax after the oil treatment. Melt a small amount of wax and spread it thinly over the surface. Buff the board with a clean cloth to achieve a smooth finish.
Frequency of Sealing Your Wood Cutting Board
Regular Maintenance
To keep your cutting board in top condition, it should be sealed regularly. A good rule of thumb is to apply mineral oil once a month. If you use your cutting board daily, consider sealing it more frequently.
Signs That Your Cutting Board Needs Sealing
Here are some signs that your cutting board needs to be sealed:
- The surface looks dry and dull.
- Water droplets are quickly absorbed into the wood.
- The wood feels rough to the touch.
If you notice any of these signs, it’s time to reapply oil and wax to your cutting board.
Common Mistakes to Avoid When Sealing Your Wood Cutting Board
Using Non-Food Safe Oils
Never use non-food safe oils like vegetable oil or olive oil to seal your cutting board. These oils can go rancid over time, creating an unpleasant smell and potentially harmful bacteria. Always use food-grade mineral oil or oils specifically designed for cutting boards.
Skipping the Drying Process
Ensure your cutting board is completely dry before applying oil or wax. Applying oil to a damp board can trap moisture, leading to mold growth and wood damage.
Over-Applying Oil
While it’s important to keep your cutting board well-oiled, over-applying can result in a sticky surface. Apply oil moderately and let it soak in properly before adding more.
Additional Tips for Maintaining Your Wood Cutting Board
Proper Cleaning Techniques
Clean your cutting board with warm soapy water after each use. Avoid soaking it in water or putting it in the dishwasher, as this can cause the wood to warp and crack.
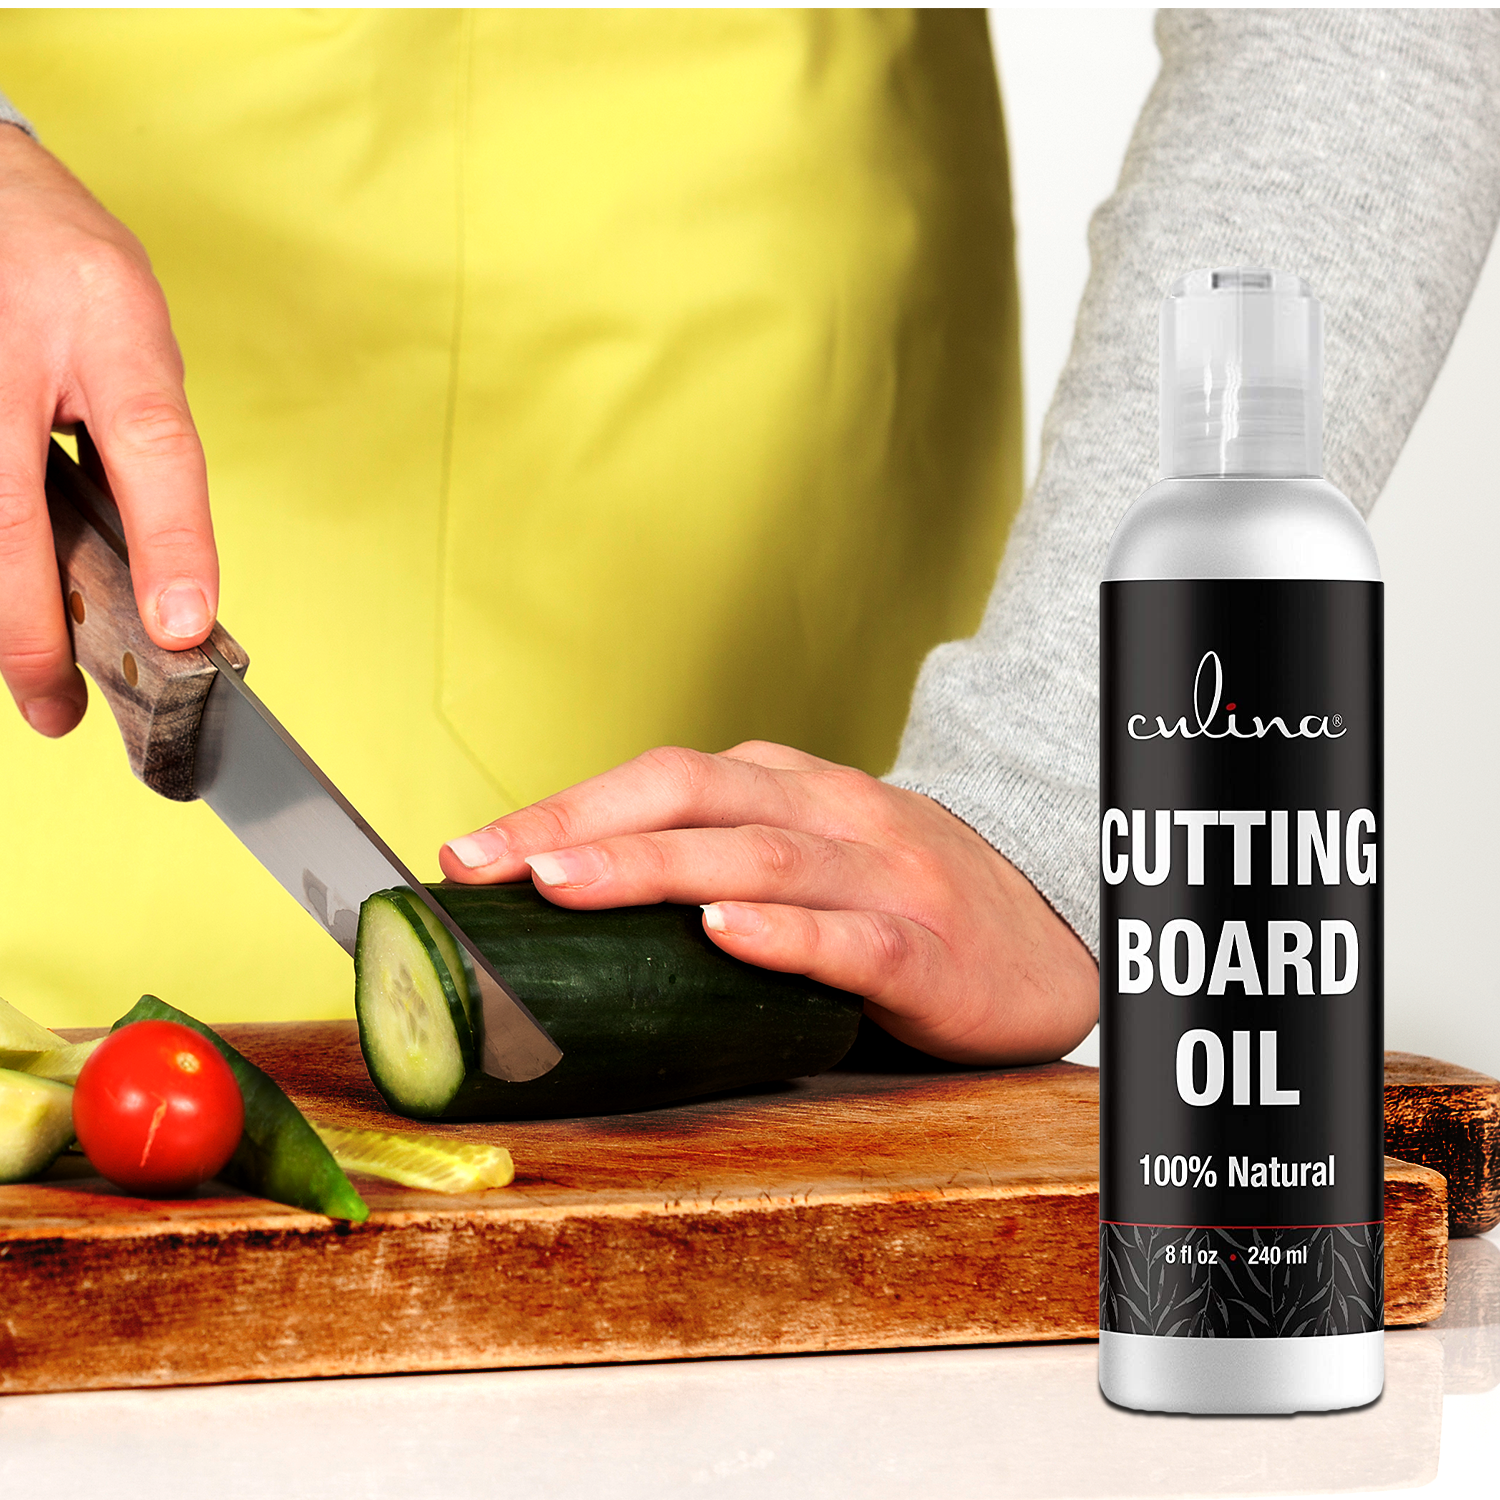
Using Cutting Board Oil
Consider using a cutting board oil that contains a blend of mineral oil and waxes. These oils are specifically designed for wood cutting boards and provide superior protection.
Storing Your Cutting Board
Store your cutting board in a dry place. Avoid placing it near heat sources or exposing it to direct sunlight, as this can cause the wood to dry out and crack.
FAQs
How often should I seal my wood cutting board?
It’s recommended to seal your wood cutting board once a month. If you use it daily, more frequent sealing might be necessary.
Can I use olive oil to seal my wood cutting board?
No, avoid using olive oil or any other non-food safe oils. These can go rancid over time. Always use food-grade mineral oil.
What should I do if my cutting board gets stained?
If your cutting board gets stained, you can try sanding the affected area lightly and reapplying oil.
Conclusion
Sealing your wood cutting board is an essential part of maintaining it. By following these steps, you can keep your cutting board in excellent condition for years to come. Remember to always use food-grade mineral oil and beeswax for the best results. Regular cleaning and proper storage will also extend the life of your cutting board, ensuring it remains a valuable tool in your kitchen.
For more tips and guidance, visit Cutting Board Benefits or learn about the differences between wood and plastic cutting boards on knivesgenius.
As an Amazon Associate, I earn from qualifying purchases.
