Sealing a pine cutting board is more than just a mundane kitchen taskit’s a meticulous process that ensures your kitchen remains at the peak of its functionality. The process of sealing is especially important if you want your pine cutting board to remain pristine, hygienic, and durable for years. In this detailed guide, we will walk you through how to seal a pine cutting board step-by-step and offer invaluable tips that are approved by industry experts.

Why Sealing Your Pine Cutting Board is Essential
One of the primary reasons to seal your pine cutting board is to create a barrier against moisture and bacteria. Pine is a softer wood, which makes it more susceptible to damage and contamination. Therefore, treating it is crucial. By understanding this, you can better appreciate the reasons for this essential kitchen maintenance task.

Materials You Will Need
Before we dive into the actual steps, ensure you have the right materials and tools at your disposal. You will need:
- Pine cutting board
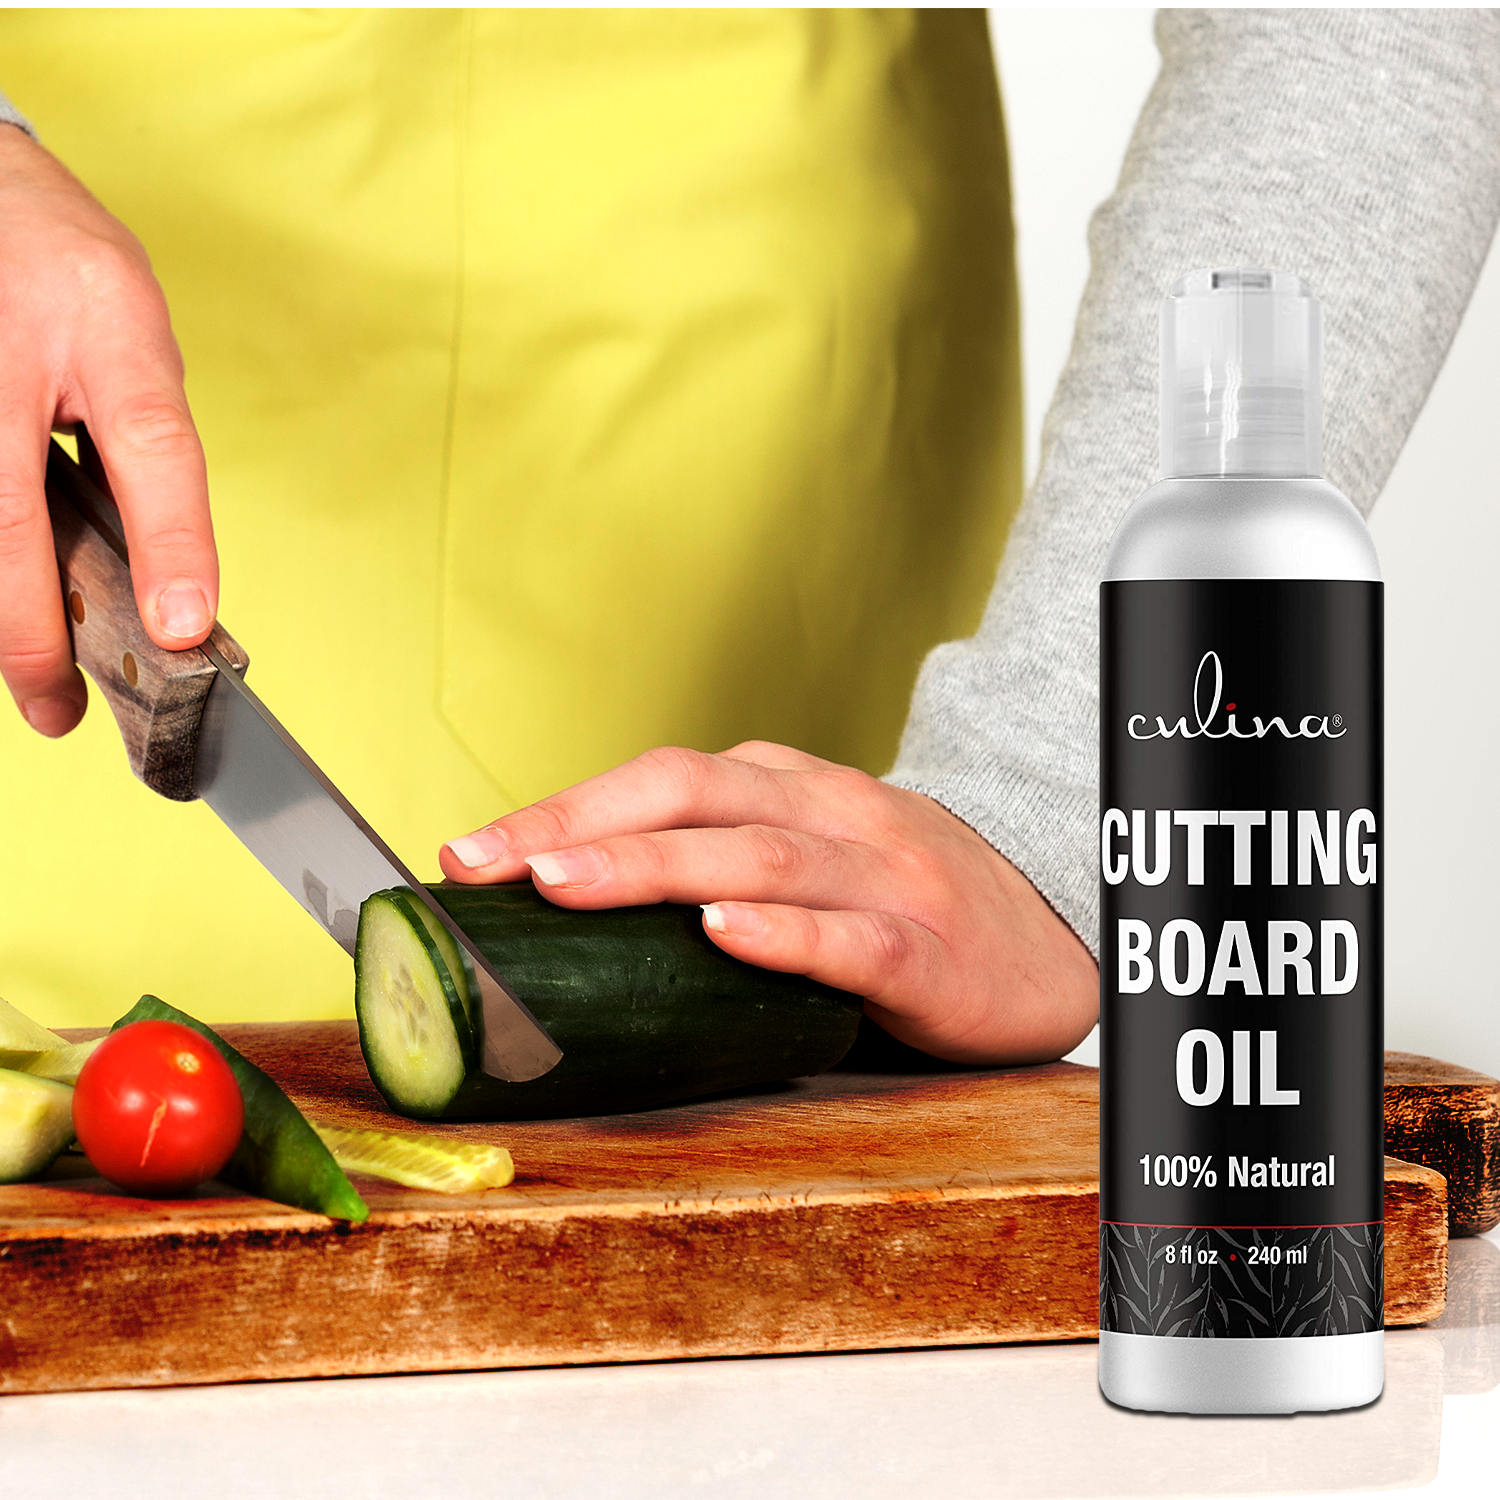
- Food-grade mineral oil
- Clean, soft cloth
- Fine-grit sandpaper
- Beeswax (optional)
Preparing Your Pine Cutting Board
The first step to sealing your pine cutting board involves proper preparation. Begin by cleaning the board thoroughly. This ensures there is no debris or residue that could affect the sealing process. You can find effective cleaning methods here.
Cleaning the Board
Use warm water and mild dish soap to wash the board. Avoid soaking it in water, as this could lead to warping. Once cleaned, allow the board to dry fully before proceeding to the next step.

Sanding the Pine Cutting Board
To achieve a smooth finish, use fine-grit sandpaper. Sand the entire surface of the cutting board, paying close attention to any nicks or grooves. Sanding not only removes minor imperfections but also opens up the wood pores, making it easier to absorb the mineral oil.
Applying Food-Grade Mineral Oil
Now comes the crucial part: applying food-grade mineral oil. Pour a generous amount of oil onto the surface of the cutting board. Using a clean, soft cloth, rub the oil into the wood, following the grain. Ensure that you cover every inch, including the edges.
Letting the Board Absorb the Oil
After the initial application, let the board sit for at least four hours, allowing the oil to penetrate deeply into the wood fibers. For best results, leave it overnight.
Repeating the Oil Application
For maximum protection, repeat the oil application process several times. Depending on the condition of your cutting board, this could be anywhere from three to five times.
Optional: Beeswax Finish
If you want extra protection and a lovely sheen on your pine cutting board, consider applying a beeswax finish. Melt a small amount of beeswax and mix it with mineral oil. Apply this mixture in the same manner as the oil application.
Maintaining Your Sealed Pine Cutting Board
Once your board is sealed, it requires regular maintenance to stay in top condition. Clean it after each use and reapply mineral oil every few weeks, or as needed. For more detailed guidance on maintenance, check out this guide.
Frequently Asked Questions
How often should I reapply mineral oil?
It’s advisable to reapply mineral oil once a month or whenever the board appears dry.
Can I use any oil for sealing?
No, only use food-grade mineral oil or a mixture of mineral oil and beeswax. Other oils can turn rancid.
Is sanding necessary?
Yes, sanding is crucial as it helps the wood absorb the oil more effectively while removing any surface imperfections.
As an Amazon Associate, I earn from qualifying purchases.


