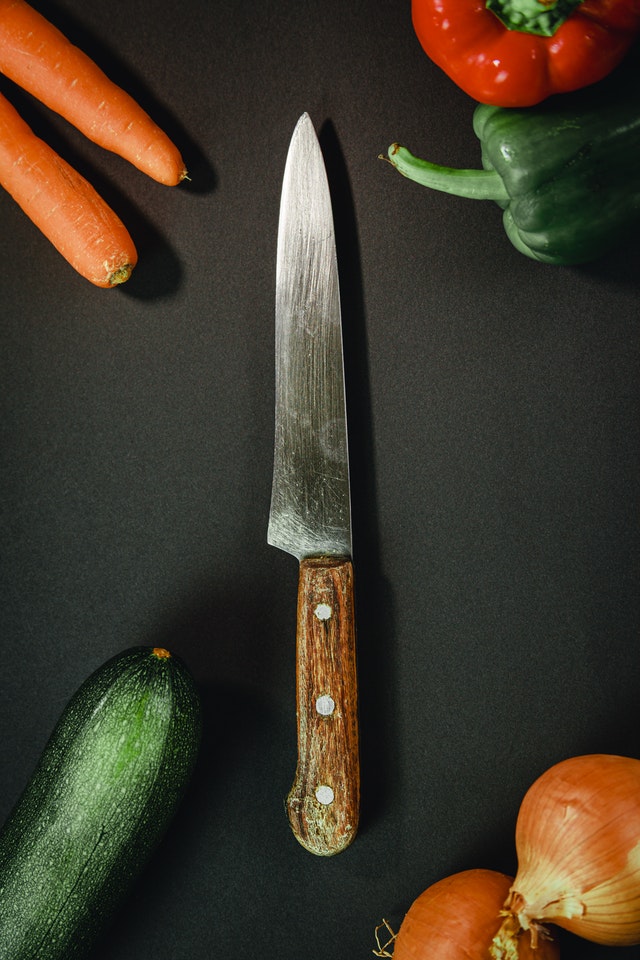
Introduction: The Joy of Crafting Your Own Knife
Have you ever thought about making a knife from an old saw blade? This DIY project is not just for seasoned craftspeople, but it’s here for kitchen hobbyists and anyone interested in creating something terrific and practical. The concept of reusing an old saw blade to make a knife offers a tremendous opportunity to blend creativity with functionality.

Why Choose an Old Saw Blade?
Old saw blades are made from high-quality steel that is ideal for making knives. They are tough, durable, and capable of holding a sharp edge. Additionally, reusing old materials is environmentally friendly and cost-effective.
Tremendous Quality
The steel in old saw blades is already tempered, meaning it has the appropriate hardness required for a reliable knife blade.
Cost-Effective
Using an old saw blade can save you money and reduce waste. Its an excellent way to recycle materials that would otherwise be discarded.
Environmentally Friendly
Repurposing objects like an old saw blade helps reduce waste and promotes sustainability.

Materials and Tools You Will Need
- Old saw blade
- Bench grinder or angle grinder
- Belt sander
- Protective gloves and eyewear
- Marker or chalk
- Template for knife design

Step-by-Step Guide: How to Make a Knife from an Old Saw Blade
Step 1: Design Your Knife
The first step in making a knife from an old saw blade is to design your knife. Determine the purpose of the knife, as this will influence its shape, size, and features. Use a template to outline the design on the saw blade with marker or chalk.
Step 2: Cut Out the Knife Shape
Using a grinder, carefully cut along the lines of your design. Be sure to wear protective gear to safeguard against sparks and sharp metal edges.
Step 3: Shape the Blade
Once the rough shape is cut out, use a belt sander to refine the blade shape and remove any burrs and sharp edges.
Step 4: Grind the Edge
Use the grinder to form the edge of the blade. Start with a coarse grit and gradually move to finer grits to get a sharper edge.
Step 5: Harden and Temper the Blade
Heat the blade until its red-hot using a forge or a torch, then quench it in oil to harden. After hardening, temper the blade by heating it again but at a lower temperature to reduce brittleness.
Step 6: Make the Handle
While the blade cools, prepare the handle. You can use wood, bone, or synthetic materials. Cut and shape the handle scales to fit your knifes tang.
Step 7: Attach the Handle
Attach the handle using rivets or epoxy resin. Ensure the handle scales are aligned properly and securely fastened to the tang.
Step 8: Final Touches
Give your knife a final polish. Sharpen the blade to your desired level of sharpness.
Safety Precautions
Always take the necessary safety precautions when working with power tools and sharp objects. Wear protective goggles and gloves, and work in a well-ventilated area.
FAQs on Making a Knife from an Old Saw Blade
Can I make a knife from any saw blade?
Its best to use a high-carbon steel saw blade as it provides better edge retention and hardness.
Do I need professional tools for this project?
While having professional tools can make the process easier, its possible to make a knife from an old saw blade with basic tools like a grinder and belt sander.
Is it safe to use a homemade knife?
Yes, as long as you ensure the knife is properly made, tempered, and sharp, it should be safe to use in your kitchen.
For more detailed information on types of kitchen knives, you can check out this external link.
Additional references: Fillet Knife Size, Sharpen Chef Knife, Serbian Chef Knife.
As an Amazon Associate, I earn from qualifying purchases.


