Cutting boards are a staple in every kitchen. They serve as a reliable surface for chopping and slicing, but they can be more than just functional. By learning how to engrave a cutting board, you can transform a simple kitchen tool into a personalized, aesthetic piece of art. Whether you’re a kitchen professional or a home cook, this guide will provide you with the knowledge and techniques to create a beautiful engraved cutting board.
Understanding the Basics of Engraving
What is Engraving?
Engraving is a technique where text or designs are carved into the surface of a material. When it comes to cutting boards, engraving allows for the personalization of the board with names, designs, or patterns. This not only enhances the aesthetic appeal but also makes the cutting board a unique gift.
Choosing the Right Cutting Board
The first step in the process of how to engrave a cutting board is selecting the right board. Wooden boards are the most popular choice for engraving due to their durability and ease of carving. Materials like bamboo, maple, and walnut are excellent options.
Tools and Materials Needed
Engraving Tools
There are various tools available for engraving, each with its own advantages. A few commonly used tools include:
- Rotary Tools: These electric tools come with various attachments for carving and etching designs into wood.
- Laser Engravers: These machines use lasers to precisely cut or etch designs into the wood, providing a clean finish.
- Woodburning Tools: These tools use heat to burn designs into the wood, offering a rustic appearance.
Additional Supplies
Besides the engraving tool, you’ll need:
- Pencil or chalk for sketching designs
- Protective eyewear and gloves
- Sandpaper for smoothing the surface
- Wood finish or sealant to protect the engraved area

Step-by-Step Guide to Engraving Your Cutting Board
Step 1: Prepare Your Workspace
Ensure your workspace is clean and well-lit. Lay down a protective covering to catch any wood shavings or debris. Safety should always be your priority, so make sure you’re wearing protective eyewear and gloves.
Step 2: Choose Your Design
Decide on the design you want to carve into your cutting board. If you’re unsure, you can find inspiration online or create a custom design. Sketch the design onto the board using a pencil or chalk. This will serve as your guide when carving.
Step 3: Start Engraving
Using your chosen engraving tool, begin to carefully trace over your design. Take your time to ensure precision and accuracy. If you’re using a rotary tool, select the appropriate attachment for fine details or broader lines. Maintain a steady hand and follow the guide you’ve sketched on the board.
Step 4: Sand the Surface
Once you’ve finished engraving, use fine-grit sandpaper to smooth the surface of the board. This will remove any rough edges and provide a polished finish. Be gentle to avoid damaging the engraved design.
Step 5: Apply Finish
To protect your engraved cutting board and enhance its appearance, apply a food-safe wood finish or sealant. This will help preserve the wood and keep the engraved area looking sharp. Allow the finish to dry completely before using the board.
Maintaining Your Engraved Cutting Board
To ensure your engraved cutting board remains in excellent condition, follow these maintenance tips:
Cleaning
Always hand wash your engraved cutting board with mild soap and warm water. Avoid soaking the board or putting it in the dishwasher, as this can cause the wood to warp or crack.
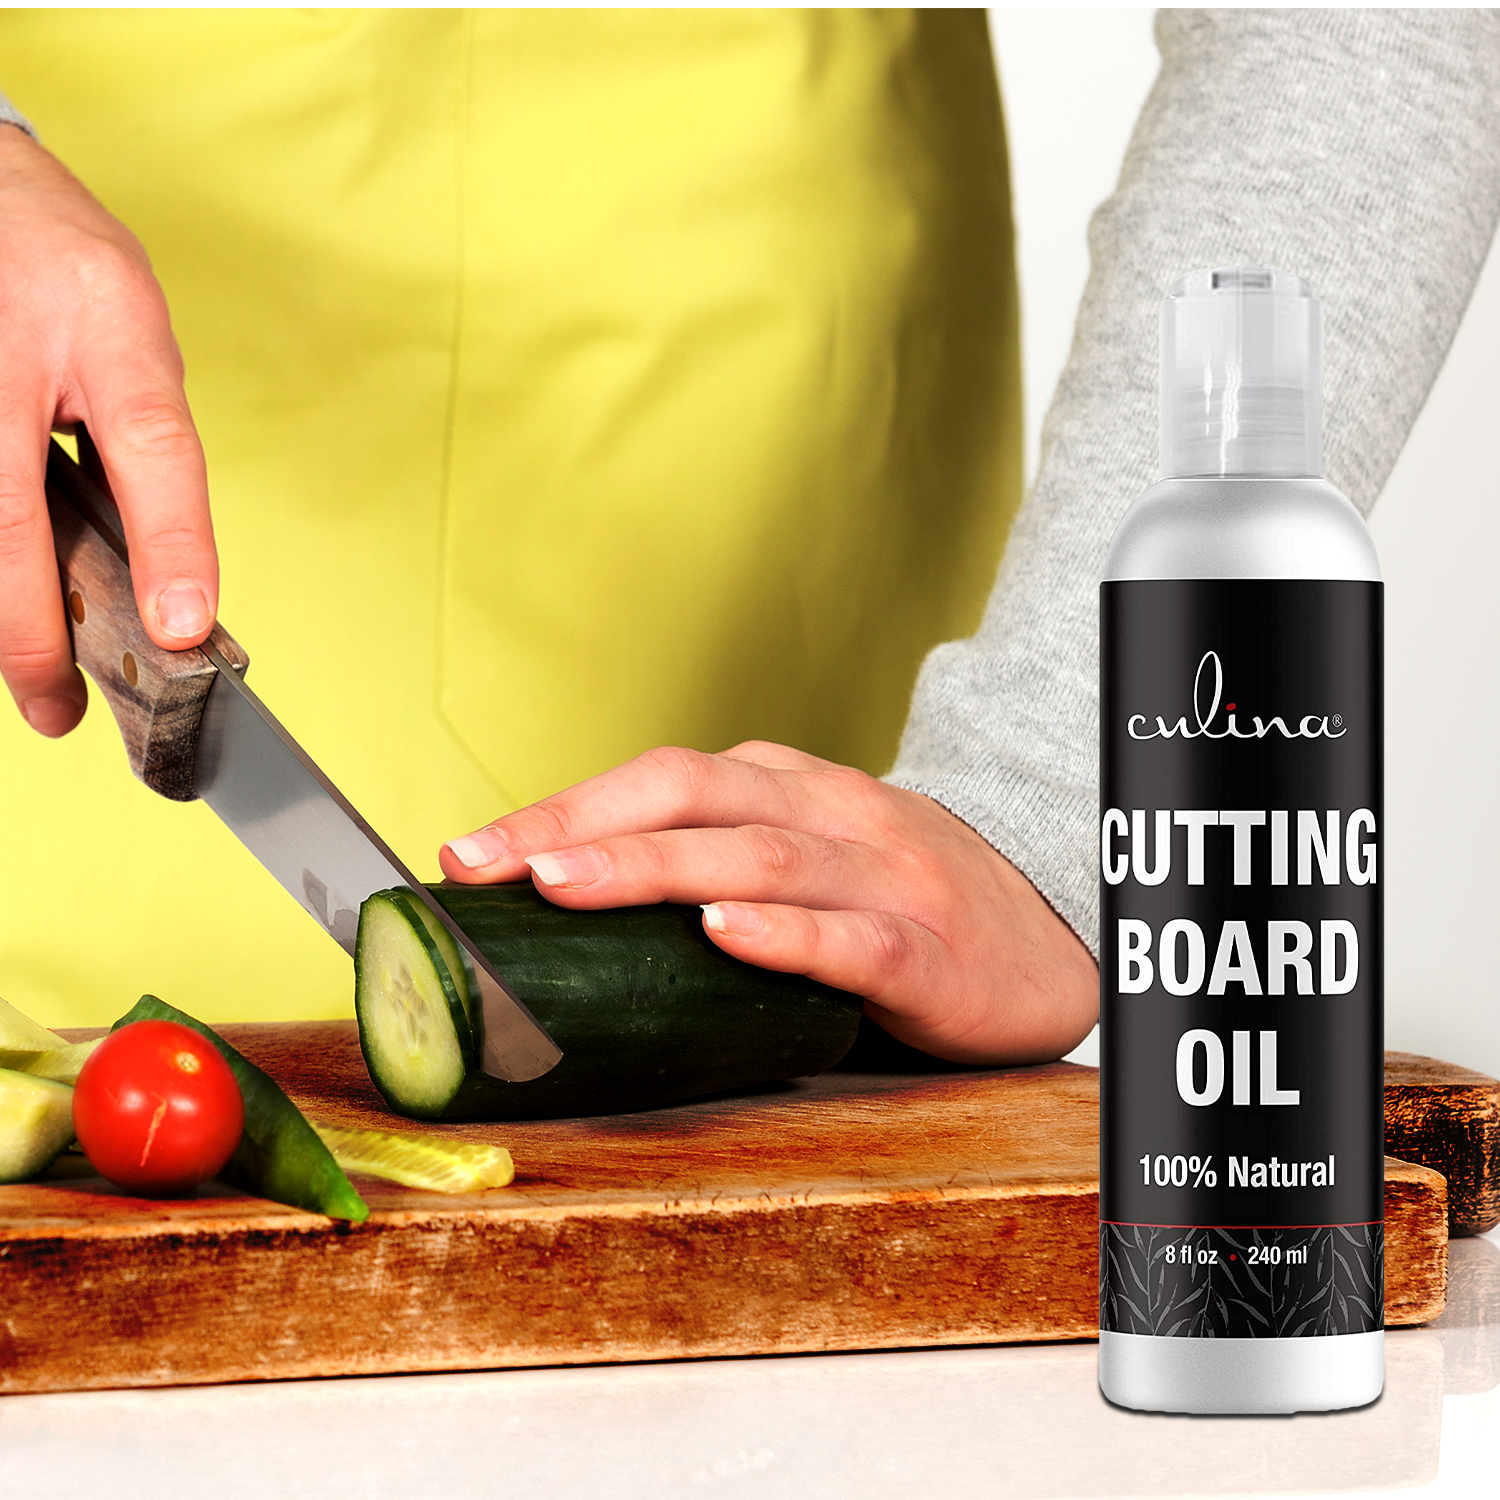
Oiling
Regularly oiling your cutting board will keep the wood hydrated and prevent it from drying out. Use a food-safe mineral oil or cutting board oil, and apply it generously to the surface. Allow the oil to soak in overnight, then wipe off any excess.
Advanced Engraving Techniques
Using Stencils
If you’re not confident in freehand engraving, you can use stencils to guide your design. Stencils provide a template that you can trace over with your engraving tool, ensuring consistent and professional results.
Layered Designs
For a more intricate design, consider layering your engravings. This involves carving multiple levels into the wood to create depth and dimension. Start with the most prominent features and gradually add details in the background.
Combining Engraving and Woodburning
To add texture and contrast to your design, try combining engraving and woodburning techniques. Engrave the main design and use a woodburning tool to add shading or intricate details. This can create a stunning effect.
Frequently Asked Questions
Can I engrave any type of wood?
Not all woods are suitable for engraving. Softwoods like pine can be difficult to engrave due to their tendency to splinter. Hardwood options like maple, walnut, and cherry are more durable and provide better results.
Is it safe to use an engraved cutting board for food preparation?
Yes, as long as you use food-safe finishes and sealants. These will protect the carved areas and ensure the board is safe for food contact. Avoid using toxic finishes or paints.
Can I personalize a cutting board as a gift?
Absolutely! Engraved cutting boards make excellent personalized gifts. You can add names, dates, or special messages to create a unique and thoughtful present.
Conclusion
Learning how to engrave a cutting board can be a rewarding and creative experience. With the right tools and techniques, you can transform a simple kitchen item into a beautiful, personalized piece of art. Whether you’re a kitchen professional or an enthusiast, engraving is a skill that adds a touch of uniqueness to your culinary space. For more information, you can refer to this helpful guide on making wooden cutting boards and ensure your engraved cutting board stands out. Remember, patience and practice are key to mastering this art form.
As an Amazon Associate, I earn from qualifying purchases.
