Engraving a cutting board can be a delightful way to add a personal touch to your kitchen essentials. Whether you are a home cook or a professional chef, personalized cutting boards can add tremendous value. In this detailed guide, we’ll delve into how to engrave a cutting board with Cricut.
The process is straightforward, and by following a few simple steps, you’ll be able to create beautiful, customized cutting boards that will impress your guests. So, let’s dive right in!
What You Will Need
- Cricut machine
- Cutting board
- Engraving tool
- Design software (Cricut Design Space)
- Masking tape
- Protective gear
Choosing the Right Cutting Board
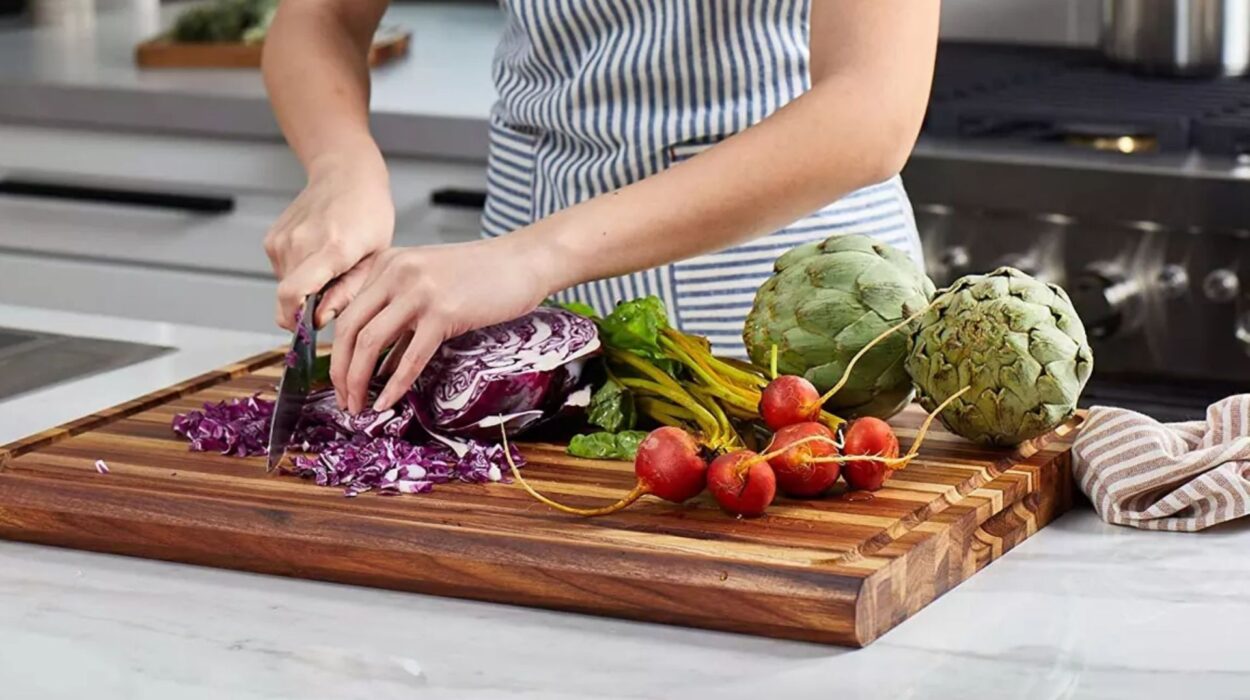
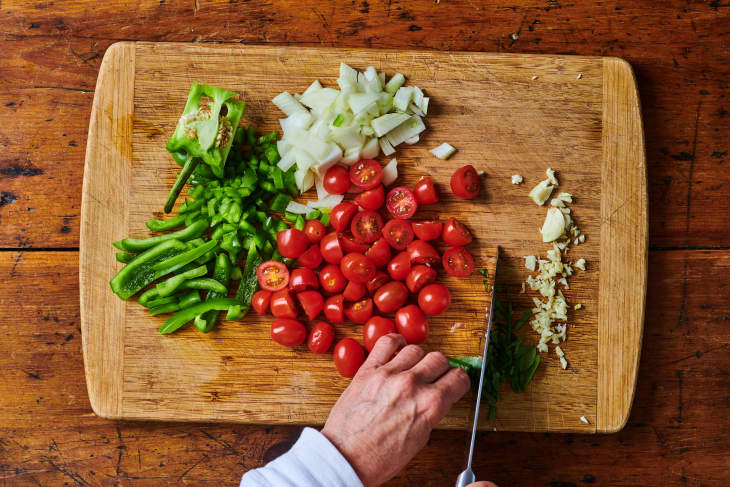
Before you start engraving, select a cutting board made from suitable materials. Woods like maple, walnut, and bamboo are commonly used due to their durability and aesthetic appeal. Ensure the board is smooth and free of deep cuts or scratches.

Setting Up Your Cricut Machine
Your Cricut machine needs to be properly set up for engraving. Make sure you have the engraving tool attachment. If not, you can purchase one from Cricut’s official store or an authorized retailer.
Ensure that your software, Cricut Design Space, is up to date. Open the program and connect your Cricut machine to your computer.
Preparing Your Design
Next, create or select the design you wish to engrave. Cricut Design Space has a variety of design options available. Import your design, resize it to fit your cutting board, and make any necessary adjustments.
Transferring the Design to the Cutting Board
Once your design is ready, secure the cutting board onto the Cricut machine’s mat using masking tape. This will keep the board in place while the machine engraves. Double-check that the design aligns perfectly with the board.
Engraving Process
Initiate the engraving process in Cricut Design Space. The machine will start carving out the design precisely as youve set it up. This could take a few minutes to several hours depending on the complexity of the design.
While the engraving is in progress, ensure you wear protective gear to shield yourself from wood shavings and dust.
Finishing Touches
Once the engraving is completed, remove the cutting board from the mat. Clean up any wood dust or debris using a soft brush or cloth.
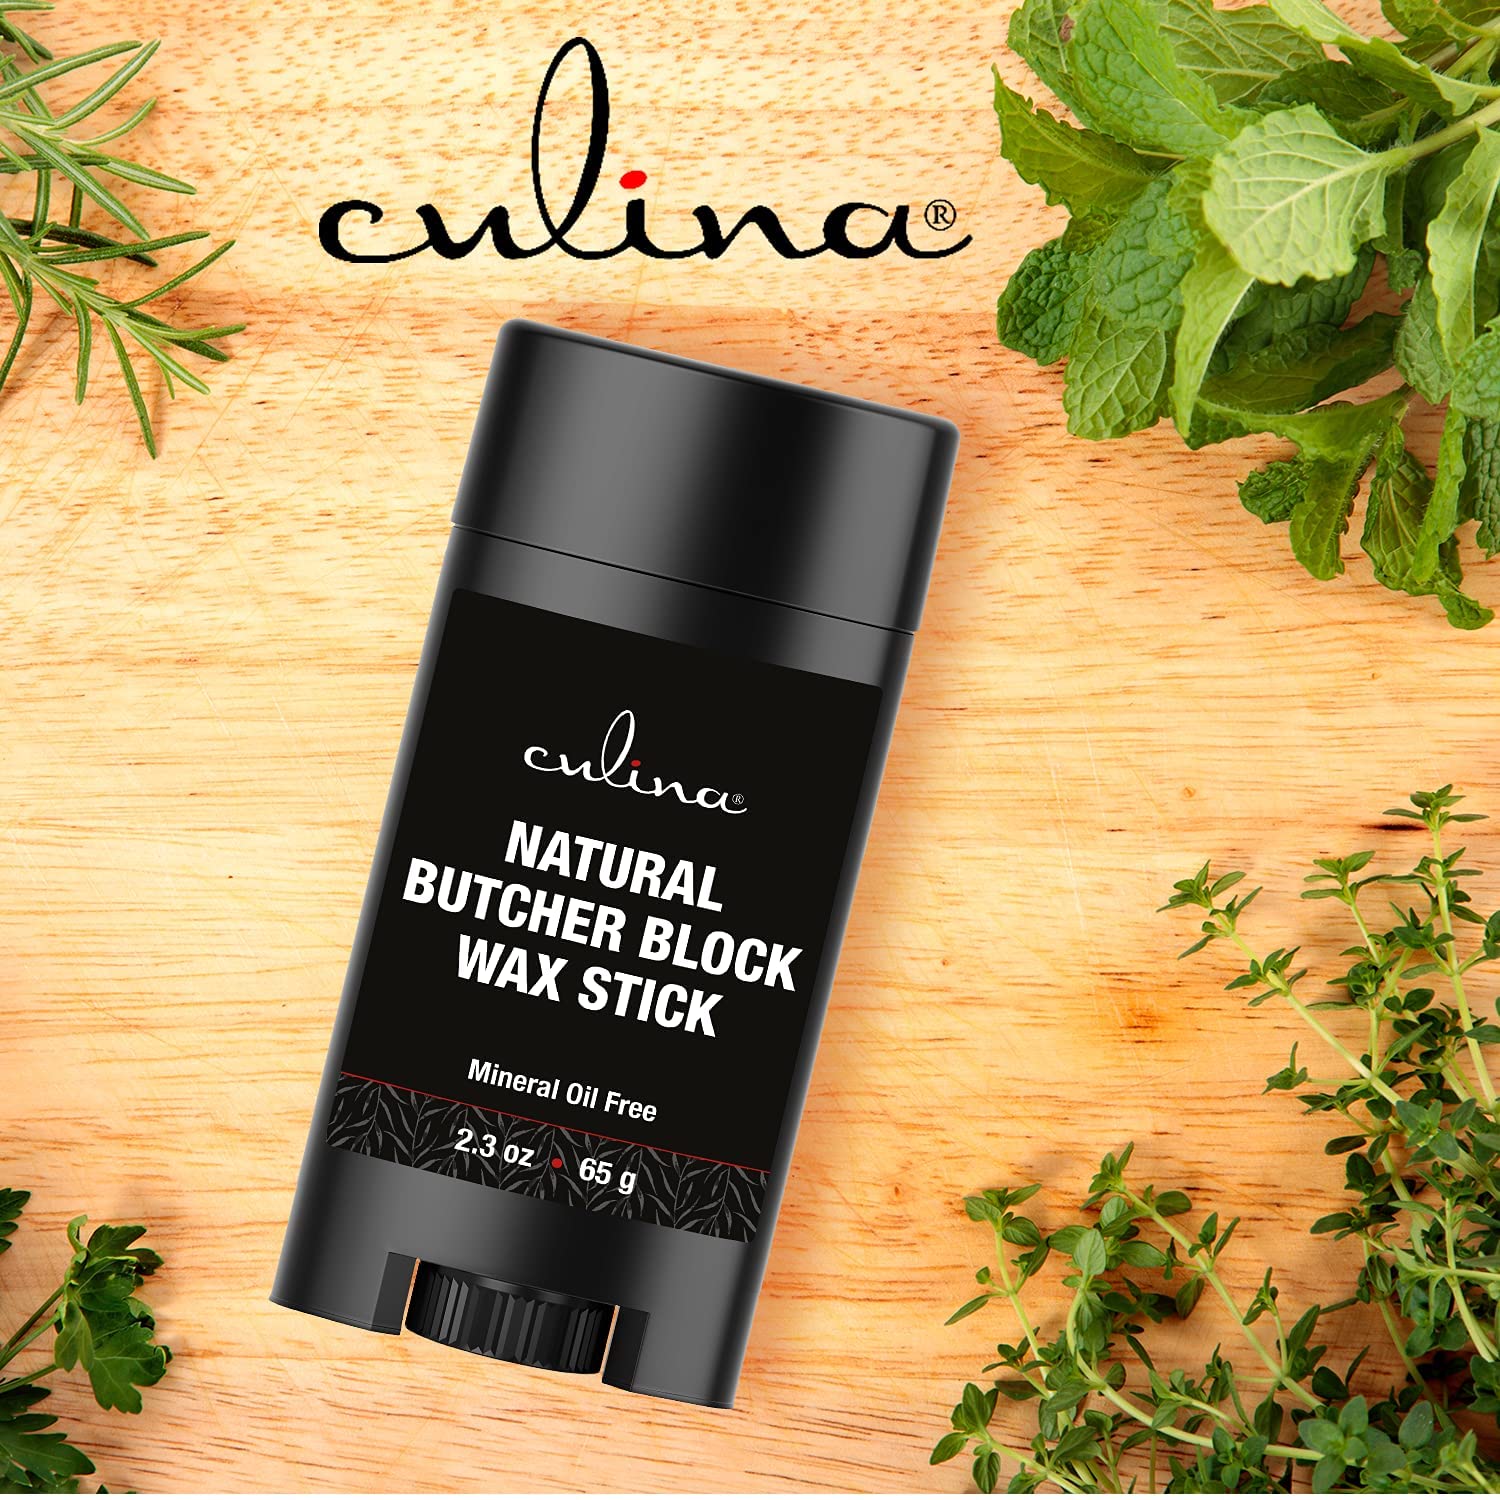
If desired, apply a mineral oil finish to your cutting board to enhance its appearance and protect the wood.
Maintaining Your Engraved Cutting Board
To keep your engraved cutting board in pristine condition, clean it regularly with mild soap and water. Avoid soaking the board in water for extended periods.
For additional tips on maintaining cutting boards, read this article on Cleaning a White Cutting Board.
FAQs
- Can I engrave any cutting board? Not every cutting board is suitable for engraving. Choosing boards made from hardwoods like maple or walnut is advisable.
- How long does the engraving process take? The time varies depending on the design’s complexity and the board’s material. It can take anywhere from a few minutes to several hours.
- Is it safe to use an engraved cutting board for food preparation? Yes, it is safe as long as the engraved areas are clean and free from debris.
As an Amazon Associate, I earn from qualifying purchases.
