When it comes to creating a showstopping cake, one essential skill you must master is how to cut cake into layers with knife. Whether you’re a passionate baker or just getting started, this technique can elevate your desserts to a professional level. In this comprehensive guide, we’ll explore tips and tricks for cutting perfect cake layers.

Why Cutting Cake Layers Matters
Cake layers not only enhance the visual appeal of your dessert but also allow you to incorporate additional fillings such as buttercream, fruits, or ganache. Learning how to cut cake into layers with knife ensures that your cake is evenly divided and stable.
The Right Tools for the Job
Choosing the Best Knife
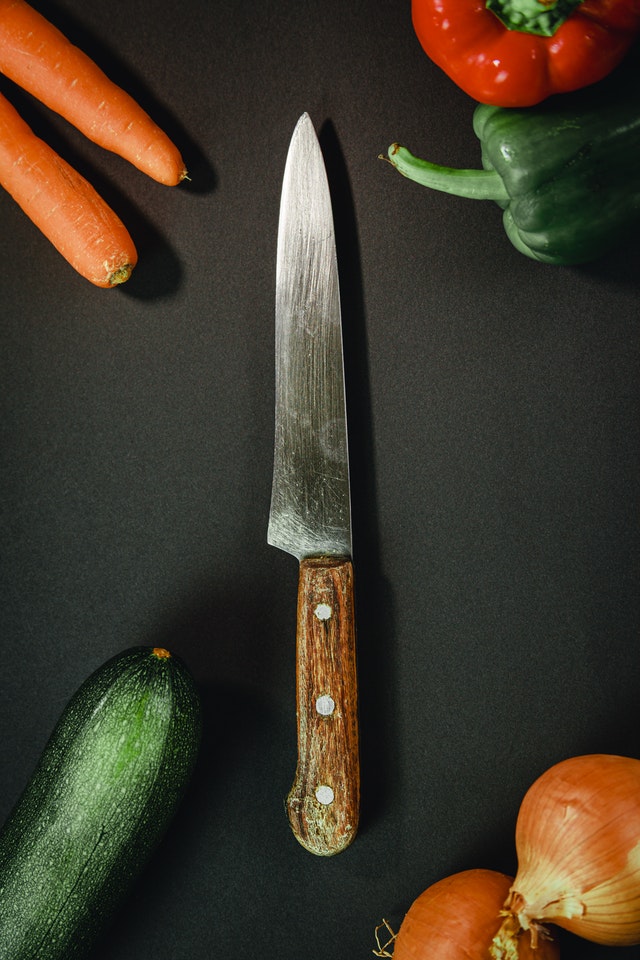
When mastering how to cut cake into layers with knife, using the correct tools is crucial. A serrated knife, often referred to as a bread knife, is the best choice. Its saw-like edge makes clean, precise cuts without dragging through the cake layers.
Other Helpful Equipment
- Rotating cake turntable
- Toothpicks or skewers for marking
- Baking sheet or cake lifter
- Ruler or guide strips for measuring
Preparing the Cake for Layering
Cool Your Cake Completely
Attempting to cut a warm or hot cake often leads to crumbling and uneven layers. Always allow your cake to cool completely before taking out your knife. In fact, some bakers recommend chilling the cake briefly in the refrigerator.
Level Off the Cake
Before slicing, remove the cake dome. Use the serrated knife to trim off the raised portion of the cake. This step helps you work with a flat base for even layers.
How to Cut Cake into Layers with Knife: Step-by-Step
Step 1: Measure and Mark
Use a ruler or cake leveler to determine where you want to slice. Often, marking the cake’s circumference with small toothpick notches offers guidance as you cut.
Step 2: Secure the Cake
Place the cake on a turntable or a flat, stable surface. If you’re not using a turntable, make sure the cake is on parchment paper to prevent movement.
Step 3: Start Slicing
Use your knife to gently saw through the cake where you’ve marked. Try not to press too hard; allow the knife to do the work. Rotate the turntable slowly for consistent motion and precision.
Common Mistakes to Avoid
- Using the wrong knife, such as a paring knife
- Rushing the process and creating uneven layers
- Skipping the chilling step
Tips for Beginners
Are you new to learning how to cut cake into layers with knife? Here are a few beginner-friendly techniques:
- Practice with a simple single-layer cake first.
- Keep your knife sharp to prevent tearing.
- Refrigerate or freeze your cake briefly so it’s firmer.
Creative Uses for Your Cake Layers
Once you’ve achieved perfectly sliced layers, the creative possibilities are endless. Try layering your cake with fruit preserves, whipped cream, or chocolate ganache for a delectable masterpiece.
FAQs
Can I use a regular knife for cutting cake layers?
While it’s possible, a regular knife may not offer the same level of precision. A serrated knife is highly recommended.
What should I do if my layers aren’t even?
If your layers are uneven, you can gently level them using a sharp serrated knife or reassemble the cake with frosting to make up for discrepancies.
Why does my cake crumble while cutting?
Crumbling often occurs when the cake isn’t cooled or chilled. Be sure to let your cake cool completely before cutting.

Further Reading
Mastering how to cut cake into layers with knife is a rewarding skill that enhances both the presentation and quality of your baked desserts. With practice and the tips above, you’ll be slicing like a pro in no time!
This article contains affiliate links. We may earn a commission at no extra cost to you.


