Is there a more succulent delight than a perfectly grilled turkey? For festive occasions or simply a weekend family feast, this grilled marvel is bound to steal the show. In this comprehensive guide, we’re diving deep into **how to cook turkey on a gas grill**. We’re here to ensure you achieve that crispy-skinned, juicy turkey perfection right in your backyard!

Preparing Your Ingredients and Equipment
Before diving into grilling, it’s essential to gather and prepare your ingredients and kitchen tools. Proper preparation ensures a smooth cooking experience and a delicious outcome.
Ingredients
- A whole turkey (10-12 lbs)
- 1/2 cup olive oil
- 1/4 cup melted butter
- Salt and pepper to taste
- 3 sprigs of rosemary
- Thyme and sage for flavor
- 2 lemons, halved
- 4 garlic cloves, crushed
Essential Equipment
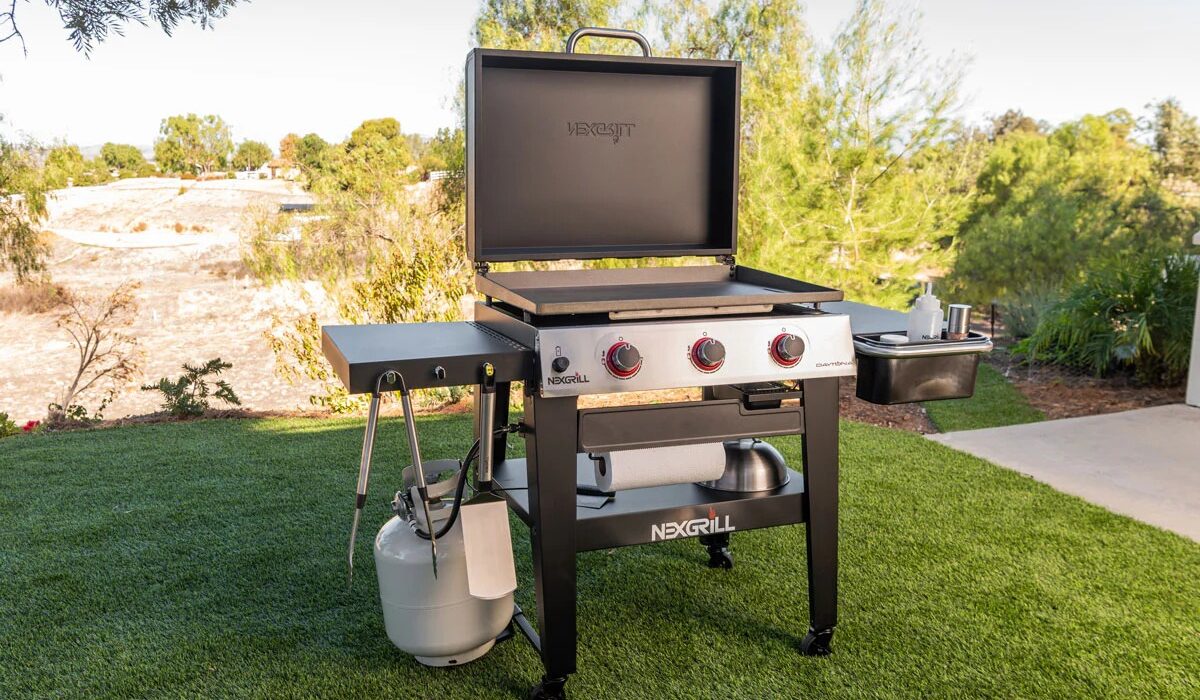
- Gas grill
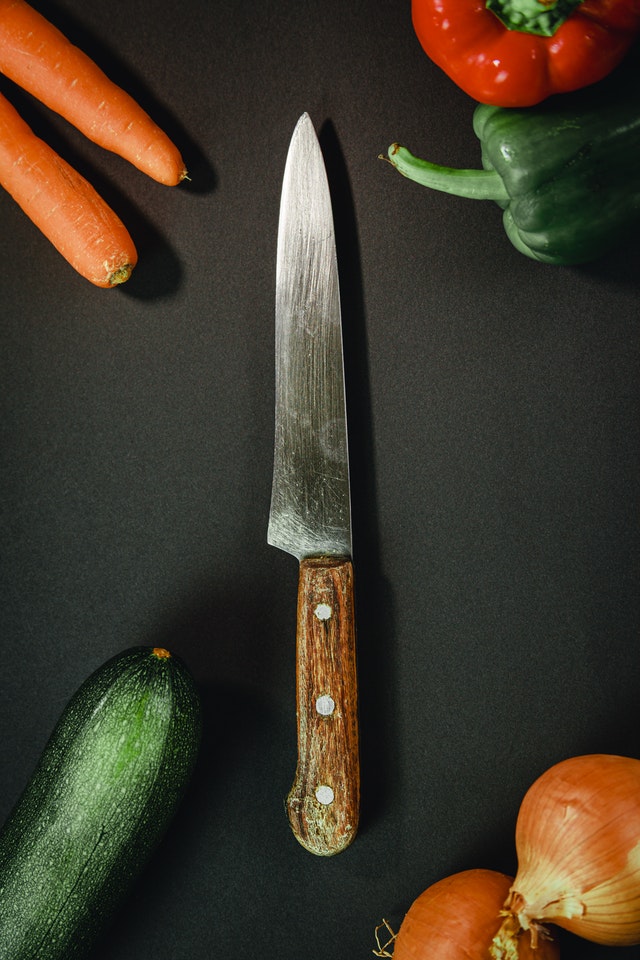
- Sharp chef’s knife (Check out this guide on sharpening your knife)
- Sturdy cutting board
- Meat thermometer
- Grill brush for cleaning
:max_bytes(150000):strip_icc()/Web_4000-sea-product-weber-spirit-ii-e-310-3-burner-rkilgore-45-71a7b6f74de047bcbb5e65bcca5c432a.jpg)
Step 1: Prepping the Turkey
Thaw your turkey well in advance. Place it in the fridge for up to three days before grilling. Pat the turkey dry with paper towels, inside and out. This is crucial for achieving crispy skin. Remove any giblets found inside the cavity.
Next, rub the turkey generously with olive oil and melted butter, ensuring it gets into all nooks and crannies. Season the turkey with salt and pepper, both inside and out. Stuff the cavity with rosemary sprigs, thyme, sage, lemon halves, and crushed garlic. Trust us, the aromatic herbs and citrus will elevate your turkey’s flavors remarkably.

Step 2: Preparing the Gas Grill
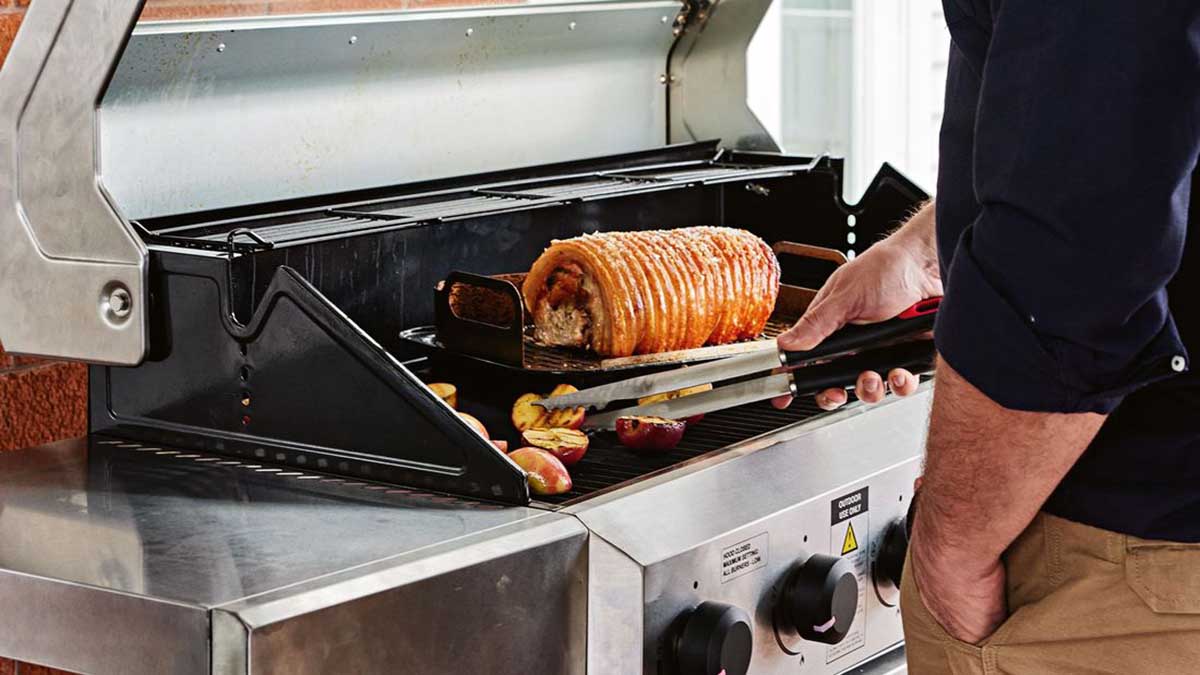
While your turkey rests, prepare your gas grill for indirect grilling. Preheat it to around 325F (163C). If your grill has multiple burners, turn on just the outer burners, leaving the middle burner off to create indirect heat, perfect for roasting the turkey without direct flames.
Place a drip pan filled with water below the turkey to catch drippings and maintain moisture. Ensure your grill grates are clean using a grill brush.
Step 3: The Grilling Process
Set up your grill with the turkey breast-side up over the drip pan. Close the lid and start grilling. Maintain a consistent temperature, checking every half hour.
Halfway through the grilling process, baste the turkey with the accumulated juices. This not only adds moisture but imparts a delightful golden color to the bird. Grilling times vary; expect about 15 minutes per pound.
Step 4: Checking Doneness
Use a meat thermometer to check when the turkey is done. Insert the thermometer into the thickest part of the thigh, avoiding the bone. The safe internal temperature for turkey is 165F (74C). If it hasnt reached the desired temperature, keep grilling until it does.
Step 5: Resting and Carving the Turkey
Once the turkey reaches 165F, remove it from the grill, placing it on a clean cutting board. Let it rest for at least 20 minutes. This resting period allows the juices to redistribute throughout the meat, making it deliciously moist and tender.
Use your sharp knife and a carving fork to slice the turkey evenly. Carve out the legs, breast, and wings, ensuring each slice is uniform and appealing.
Serving Your Perfectly Grilled Turkey
Present your expertly grilled turkey on a stunning platter. Garnish with extra rosemary sprigs and lemon slices for an added touch of elegance. Pair with your favorite side dishes, like roasted vegetables, mashed potatoes, and gravy.
The beauty of grilling turkey on a gas grill lies in the extraordinary flavors and textures achieved. The crispy skin, the tender meat, the smoky aromaall these aspects come together to create a culinary masterpiece that’s unparalleled in taste and presentation.
Clean-Up and Maintenance
After indulging in your mouth-watering turkey, it’s crucial to clean up properly. Clean your grill grates while theyre still warm using a grill brush. To keep your cutting board in prime condition, consider a cutting board conditioner.
Conclusion
Mastering the art of **how to cook turkey on a gas grill** transforms your culinary skills, allowing you to present a dish that’s not only visually appealing but also sumptuous in flavor. Follow our detailed guide, and you’re sure to impress your guests at any gathering.
For further insights on classic kitchen techniques, be sure to visit our article on sharpening a fillet knife.
As an Amazon Associate, I earn from qualifying purchases.


