Theres nothing like the savory, juicy taste of ribs that have been grilled to perfection. If you’re wondering how to cook St Louis ribs on a gas grill in foil, you’ve come to the right place. In this comprehensive guide, we’ll delve into the nuances of grilling these delectable ribs, using techniques that are guaranteed to leave your guests yearning for more.
Grilling St Louis ribs can be a delightful experience if done correctly. With the right preparation, ingredients, and cooking method, you can achieve a tender, flavorful result. The aim of this article is to offer a detailed, step-by-step guide on grilling St Louis ribs using a gas grill and foil, making sure that each step is elaborated in depth for your convenience.

Getting Started with Grilling St Louis Ribs
Before getting into the specifics, let’s talk about the essentials you’ll need to cook St Louis ribs on a gas grill.
Essential Items Required
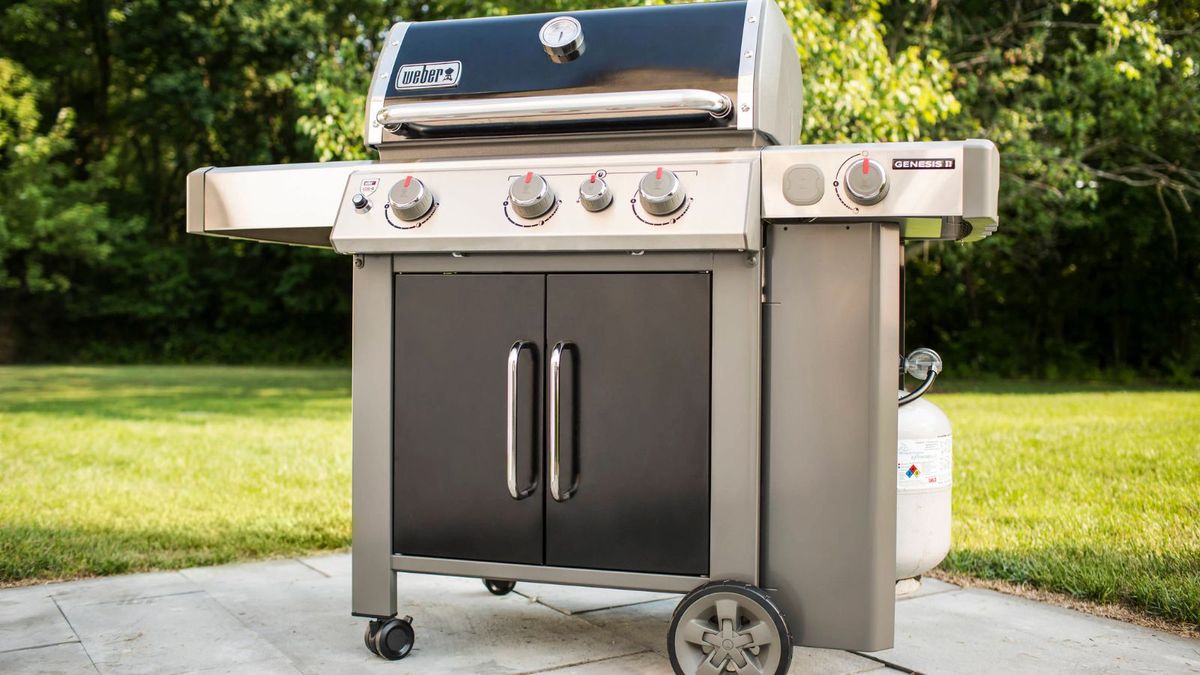
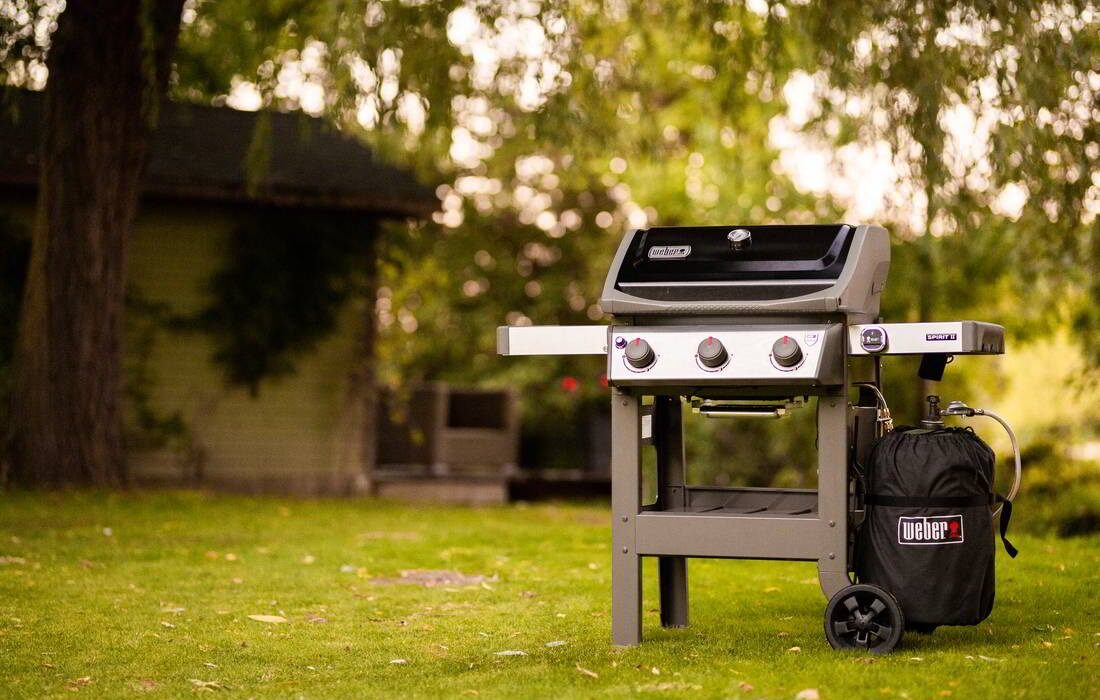
- 1 gas grill – Here’s a selection of gas grills that might be of interest.
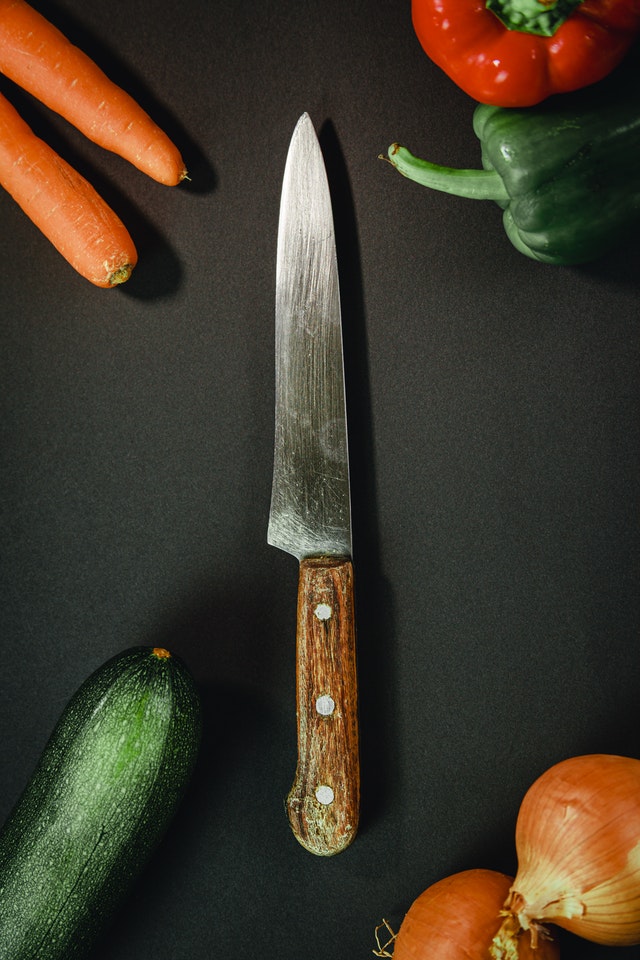
- 1 sharp knife.
- 1 sturdy cutting board.
- Heavy-duty aluminum foil
- Dry rub for seasoning
- Barbecue sauce for basting
:max_bytes(150000):strip_icc()/faw-gas-grills-test-monument-4-burner-propane-rkilgore-129-e0873ca1a80d4642988d0874f1eb6a11.jpg)
Step-by-Step Preparation for St Louis Ribs
Step 1: Preparing the Ribs
The first step in grilling St Louis ribs begins with selecting high-quality ribs. Look for ribs that are well-marbled and have a good amount of meat on the bone. Using a sharp knife and sturdy cutting board, remove the membrane from the back of the ribs. This ensures that your seasoning will be absorbed better.
Now, its time to apply the dry rub. A well-crafted dry rub can make all the difference in your ribs. Generously coat the ribs with your preferred dry rub, making sure to get both sides. Wrap the seasoned ribs in plastic wrap and refrigerate them for at least 2 hours, allowing the flavors to meld together.
Step 2: Prepping the Gas Grill
Preheat your gas grill to around 275 degrees Fahrenheit. This low and slow method is essential for cooking ribs to perfection. While the grill is heating, prepare your foil. Using heavy-duty aluminum foil, create a double-layered rectangle that is large enough to completely wrap the ribs.
Once the grill has reached the desired temperature, lightly oil the grates to prevent sticking. For further tips on managing your grill, check out this guide on seasoning.
Step 3: Wrapping and Grilling the Ribs
Place the ribs meat-side up onto the foil. Fold the edges of the foil around the ribs, creating an enclosure that will trap steam and keep the rib meat moist throughout the cooking process. Put the wrapped ribs on the grill, with the meat side facing up initially for about 1.5 hours. This technique will allow the meat to cook evenly and absorb the smoky flavor from the grill.
After 1.5 hours, carefully open the foil to check if the ribs are tender. The meat should begin to pull away from the bone at this point. If its not quite there yet, reseal the foil and continue cooking. If the ribs are tender, open the foil and let them cook for an additional 30 minutes to allow the sauce to caramelize and the ribs to develop a lightly charred, crispy exterior.
Step 4: Applying the Sauce
About 30 minutes before the ribs are done, begin basting them with barbecue sauce. This will not only add additional flavor but will also give the ribs that classic sticky and charred finish. Apply the sauce generously, brushing it on during the last 15 minutes of cooking to avoid burning the sugars in the sauce.

Additional Tips to Perfect Your Grilled St Louis Ribs
Temperature Control
Maintaining a consistent grilling temperature is crucial for perfect ribs. A good thermometer can help you to keep track of the internal grill temperature. Aim for a steady 275 degrees Fahrenheit, adjusting the burners as necessary to maintain an even heat distribution. Some gas grills come with built-in thermometers, but having an additional probe can provide extra accuracy.
Resting the Ribs
After the ribs are done grilling, its essential to let them rest for about 10-15 minutes before slicing. This resting period allows the juices to redistribute throughout the meat, ensuring that each bite is tender and juicy.
Use a sharp knife to slice the ribs. Cutting between the bones, present your ribs with confidence, knowing they are perfectly cooked and seasoned.
Troubleshooting Common Grilling Issues
What to Do if Ribs Are Too Tough
Tough ribs are usually the result of undercooking or cooking at too high a temperature. If your ribs are too tough, wrap them back in foil and place them back on the grill at a lower temperature, around 250 degrees Fahrenheit. Cook them for another 30-60 minutes, then check for tenderness.
Dry Ribs
If your ribs turn out dry, it’s likely due to overcooking or not wrapping them tightly enough in the foil. Should this occur, try wrapping the ribs in foil with a little apple juice or broth to reintroduce moisture, and cook at a low temperature for an additional hour.
Final Presentation and Serving Suggestions
Now that your ribs are perfectly grilled, its time to think about presentation. A beautifully plated dish not only looks inviting but also enhances the dining experience. Serve your ribs on a large platter garnished with fresh herbs and lemon wedges for a splash of color. Pair the ribs with classic side dishes such as coleslaw, corn on the cob, or baked beans to complete your BBQ feast.
Remember, a clean kitchen is also part of the presentation. After your grilling session, make sure to clean all tools and surfaces. For your gas grill, consider using a specialized cookware cleaner to ensure it remains in top condition. And don’t forget a cutting board conditioner to maintain your cutting board.
With these detailed steps and tips, you are now well-equipped to make the most mouth-watering St Louis ribs on your gas grill.
As an Amazon Associate, I earn from qualifying purchases.


