Cooking rice may seem like a basic culinary task, but it can be elevated to a whole new level of perfection when you learn how to cook rice in an electric pressure cooker. Many home cooks are discovering the benefits of using this versatile kitchen appliance to achieve fluffy, perfectly cooked grains without the fuss of traditional methods.

The Magic of Electric Pressure Cookers
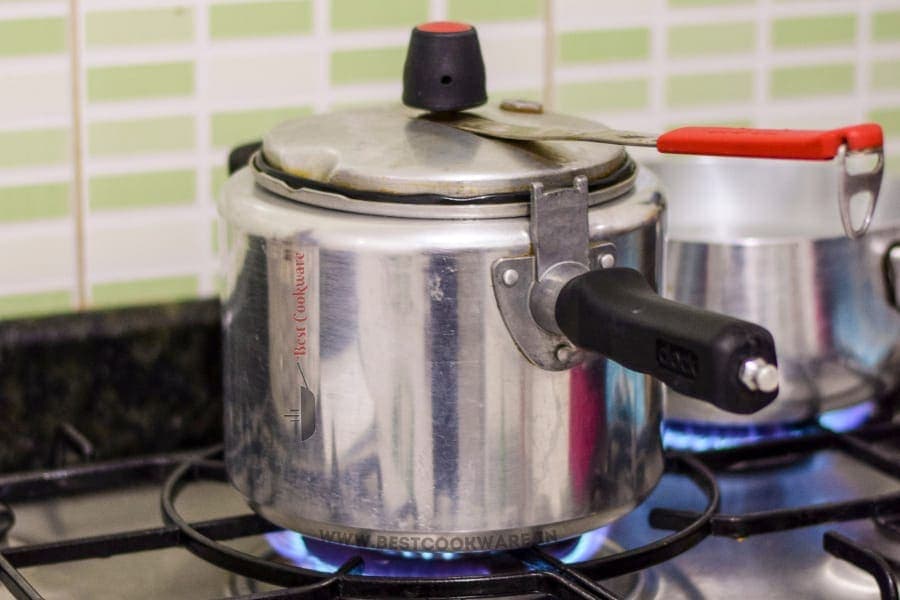
Electric pressure cookers, such as the Instant Pot, have become a staple in many kitchens worldwide. They offer convenience and consistency, making them ideal for cooking a variety of dishes, including rice. With electric pressure cookers, you no longer have to worry about rice cooking unevenly or sticking to the bottom of the pot. The sealed environment retains steam, ensuring each grain is perfectly cooked.
The Benefits of Using an Electric Pressure Cooker for Rice
Using an electric pressure cooker allows for precise control of the cooking environment, ensuring that the rice is cooked to perfection every time. Additionally, the sealed design prevents moisture loss, which is key to maintaining the ideal texture of the rice. Furthermore, pressure cooking is often faster than traditional cooking methods, saving you time in the kitchen.
Ingredients and Equipment
- 1 cup of white rice
- 1.5 cups of water
- 1/2 teaspoon of salt (optional)
- 1 tablespoon of olive oil or butter (optional)
Equipment:
Step-by-Step Instructions
When it comes to making rice in an electric pressure cooker, the process is simple yet transformative. Follow these detailed steps for delicious, fluffy rice:
Measure and Rinse the Rice
Start by measuring the desired amount of rice. Rinsing your rice under cold water until the water runs clear can help remove excess starch, resulting in grains that are less sticky. Simply pour the rice into a fine mesh strainer and rinse thoroughly.
Add Ingredients to the Pressure Cooker
Add the rinsed rice, the required amount of water, and your choice of olive oil or butter into the pressure cooker. Adding a pinch of salt can enhance the flavor but is entirely optional.
Seal and Set the Cooker
Secure the lid of your electric pressure cooker and ensure that the valve is set to ‘Sealing.’ Refer to your appliance’s manual for specific functions, as settings may vary. Generally, you’ll want to select the ‘Rice’ function or set it to a high-pressure cook setting for approximately 3-5 minutes.
Allow Natural Pressure Release
Once the cooking cycle is complete, allow the pressure cooker to naturally release its pressure. This can take about 10 minutes but is crucial for ensuring that each grain is cooked to perfection without becoming mushy.
Fluff and Serve
Use a fork to fluff the rice gently before serving. This simple step aerates the grains, making them soft and separate. Pair your perfectly cooked rice with any of your favorite dishes or enjoy it as a hearty base for a variety of meals.
Exploring Rice Varieties
There are numerous types of rice, each offering a unique texture and flavor profile. Once you’ve mastered basic white rice, consider experimenting with other varieties such as basmati, jasmine, or brown rice. These can all be cooked in an electric pressure cooker, though some may require slight adjustments in cooking time or water ratios. For further information on cooking Jasmine rice, you might want to check this resource.

Conclusion
Learning how to cook rice in an electric pressure cooker not only saves time but enhances your overall cooking experience. The convenience and efficiency offered by this appliance are unmatched. Embrace the ease and consistency that a pressure cooker brings, and enjoy flavorful, well-prepared rice with minimal effort. Whether you’re a seasoned chef or a novice home cook, this method is a game-changer in the kitchen.
If you’ve found these tips helpful, consider further exploring the world of pressure cooking with this guide.
This article contains affiliate links. We may earn a commission at no extra cost to you.
