There is nothing quite like a warm, hearty dish of pinto beans to soothe your soul. These versatile legumes, beloved by many, are a staple in various cuisines. Whether youre making a classic Tex-Mex meal, a protein-rich topping for your salads, or a deliciously simple side dish, learning how to cook pinto beans in a pressure cooker can streamline your kitchen efforts.
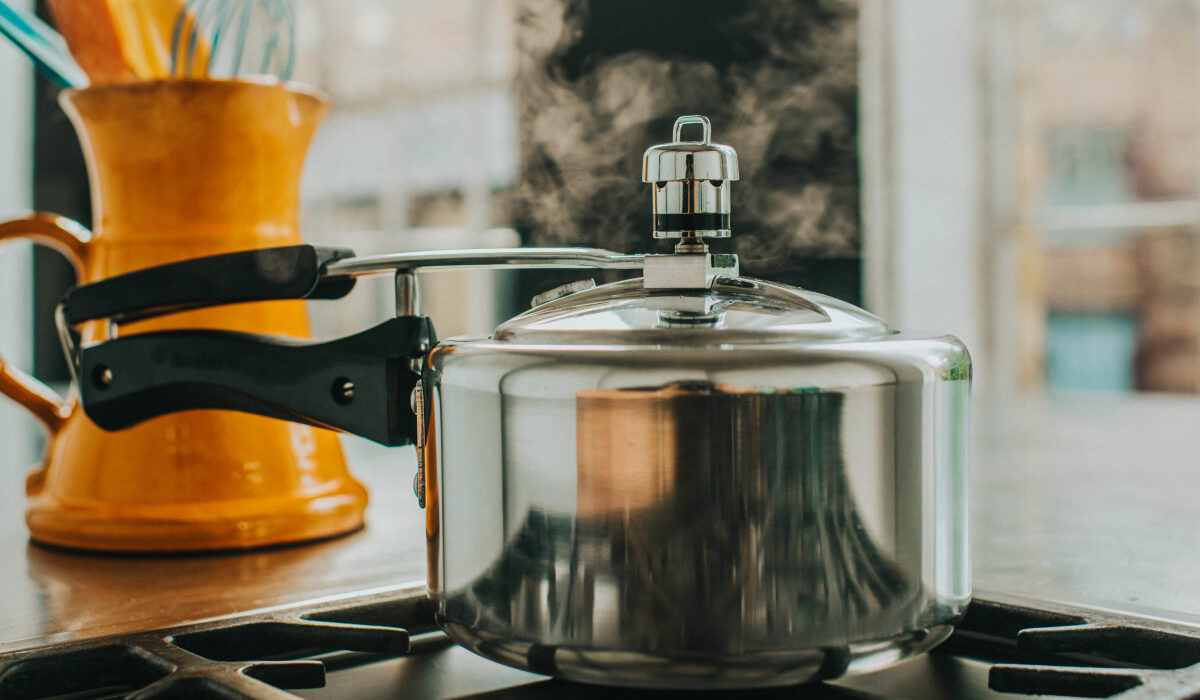
Pressure cooking is a game-changer when it comes to cooking beans. Traditional stovetop methods require hours of simmering, but with a pressure cooker, you can achieve perfectly soft and creamy beans in just a fraction of the time.
If youre new to pressure cooking or looking for a hassle-free way to cook pinto beans, youve come to the right place.
Before diving into the instructions, it’s essential to have the right equipment on hand. You’ll need a reliable pressure cooker, a sharp knife for preparing any additional ingredients, and a sturdy cutting board. You may also want a high-quality cookware cleaner to maintain your kitchen tools. And don’t forget to care for your cutting board with some nourishing cutting board oil.

The Benefits of Cooking Pinto Beans in Pressure Cooker
When it comes to efficiency and flavor, using a pressure cooker to cook pinto beans is unmatched. The primary advantages include:
- Time-Saving: Traditional methods can take up to 2-3 hours, while a pressure cooker can have your beans ready in less than an hour, soaking excluded.
- Flavorful and Nutritious: Cooked under high pressure, beans retain their flavor and nutritional benefits far better than conventional cooking, preserving the integrity of vitamins and minerals.
- Consistent Results: Pressure cooking ensures that beans are evenly cooked, preventing the dreaded partially-cooked-texture dilemma.
Preparing Your Pinto Beans
Before you start cooking, you need to prepare your beans. This process helps to remove any dirt or debris and can eliminate some of the oligosaccharides that cause gastric discomfort. Follow these preparation steps for the best results:
Step 1: Sort and Rinse
Start by sorting through your beans to remove any stones or foreign particles. Once sorted, rinse them thoroughly under cold water. Using a colander or strainer is helpful here.
Step 2: Soak
To soak or not to soak the choice is yours! Soaking can reduce cooking time and make beans easier to digest. If you choose to soak, cover the beans with water and let them sit for 4-6 hours, or overnight for the best results. If you are short on time, a quick soak can be done. Simply bring the beans to a boil on the stove, let them boil for 1-2 minutes, remove from heat, cover and let them sit for an hour before proceeding to cook.
Step 3: Drain
After soaking, drain the beans and rinse them one more time before adding them to your pressure cooker. This step ensures that everything going into your dish is clean and ready for flavor infusion.
Cooking Pinto Beans in Your Pressure Cooker
The real magic happens now. Follow the precise cooking steps below for a perfect pot of beans every time.
Step 1: Add Your Ingredients
Place your soaked and rinsed beans in the pressure cooker. Add water or broth to the cooker, ensuring the liquid covers the beans by at least 2 inches. For additional flavor, consider incorporating herbs, spices, or aromatic vegetables like onions and garlic. These will enhance the taste of your beans without overpowering them.
Step 2: Pressure Cooking Time
Seal your pressure cooker according to the manufacturers instructions. Bring it up to high pressure over medium heat, then reduce the heat to low. Cook for 25-30 minutes (adjusting for altitude if necessary). After cooking, allow the pressure to naturally release for about 10 minutes before opening the lid. This ensures that the beans continue to cook gently and absorb the flavors inside.
Step 3: Check and Adjust
Open the lid after the pressure has completely released. Check the tenderness of your beans; they should be creamy but intact. At this point, you can make any necessary seasoning adjustments, adding salt to taste. Avoid salting your beans before cooking as it can harden them.
For more in-depth pressure cooking techniques, you can refer to this comprehensive guide which offers a variety of flavorful options and methods.

Serving and Storing
Congratulations! You’ve mastered the art of cooking pinto beans in a pressure cooker. Once cooked, your beans are ready to be a centerpiece of delicious meals. Think burritos, soups, salads, or simply a bowl with a sprinkle of cheese and fresh herbs.
To store leftovers, allow the beans to cool, then transfer them to airtight containers. They can be stored in the refrigerator for up to four days. For longer storage, place them in the freezer for up to three months, ensuring they’re in tightly sealed bags or containers to prevent freezer burn.
With this guide, youll have a bounty of tender, flavorful pinto beans ready to use in countless dishes. Pressure cooking transforms what once felt like a cumbersome task into an effortless, everyday one.
This article contains affiliate links. We may earn a commission at no extra cost to you.
