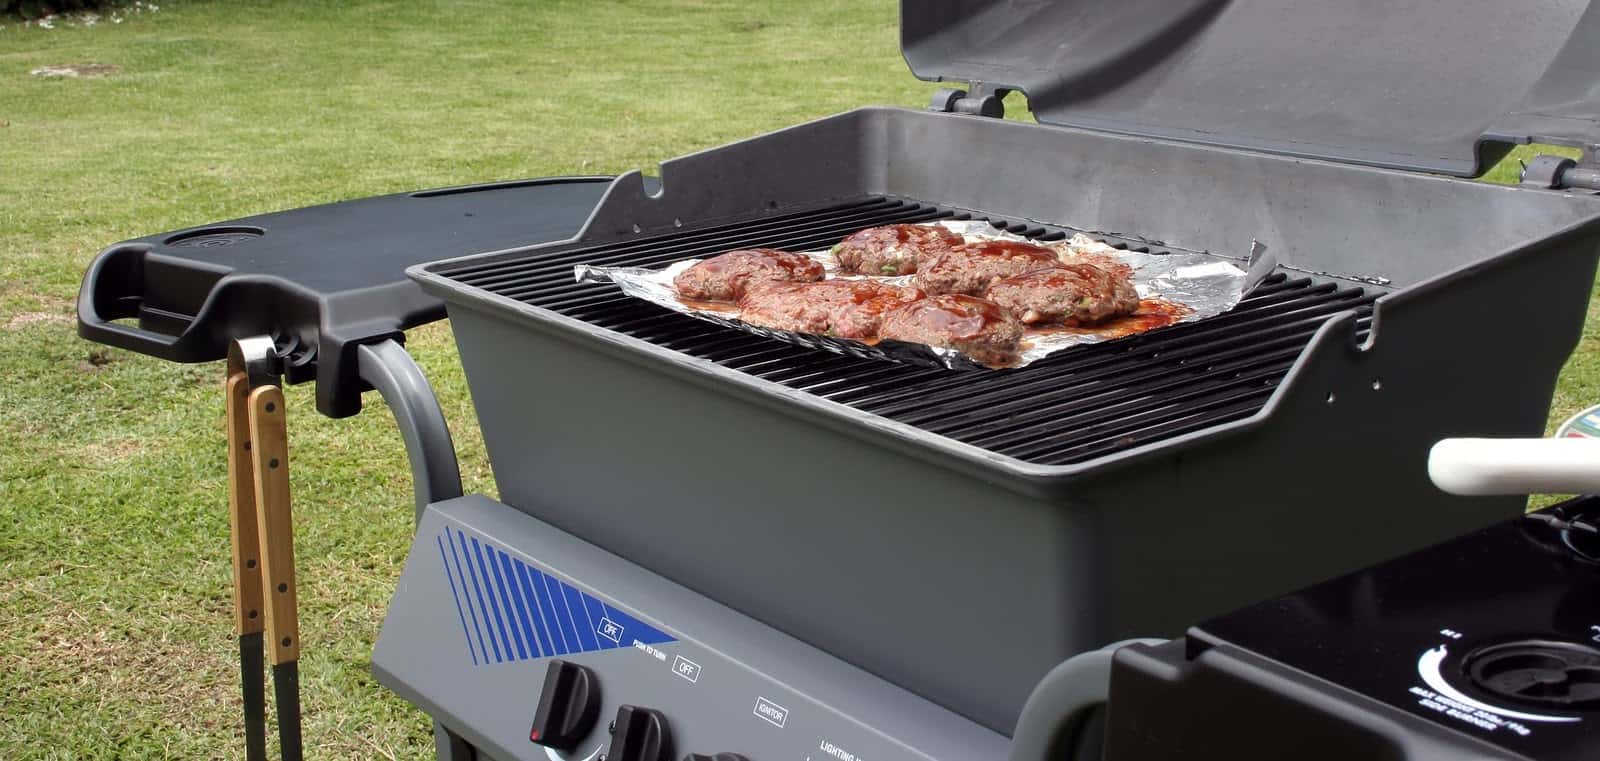
There’s something truly magical about the outdoor grilling experience. The sizzling sound of meat hitting the hot grates, the aromatic smoke wafting in the air, and the irresistible flavors that only a grill can impart. When it comes to grilling chicken, drumsticks are a favorite for many due to their robust flavor and juiciness. In this comprehensive guide, we’ll explore how to cook drumsticks on a gas grill, ensuring you achieve perfectly cooked drumsticks every single time.

Why Choose Drumsticks?
Drumsticks are often chosen for grilling thanks to their rich flavor and forgiving nature. Unlike chicken breasts, which can dry out quickly if overcooked, drumsticks are more forgiving thanks to their higher fat content. This means that even if you’re not a grilling expert, there’s a good chance you’ll get juicy, flavorful results.

Gathering Your Supplies
Before you start, it’s essential to have all the necessary supplies on hand. Here’s a list of what you’ll need:
- Fresh chicken drumsticks
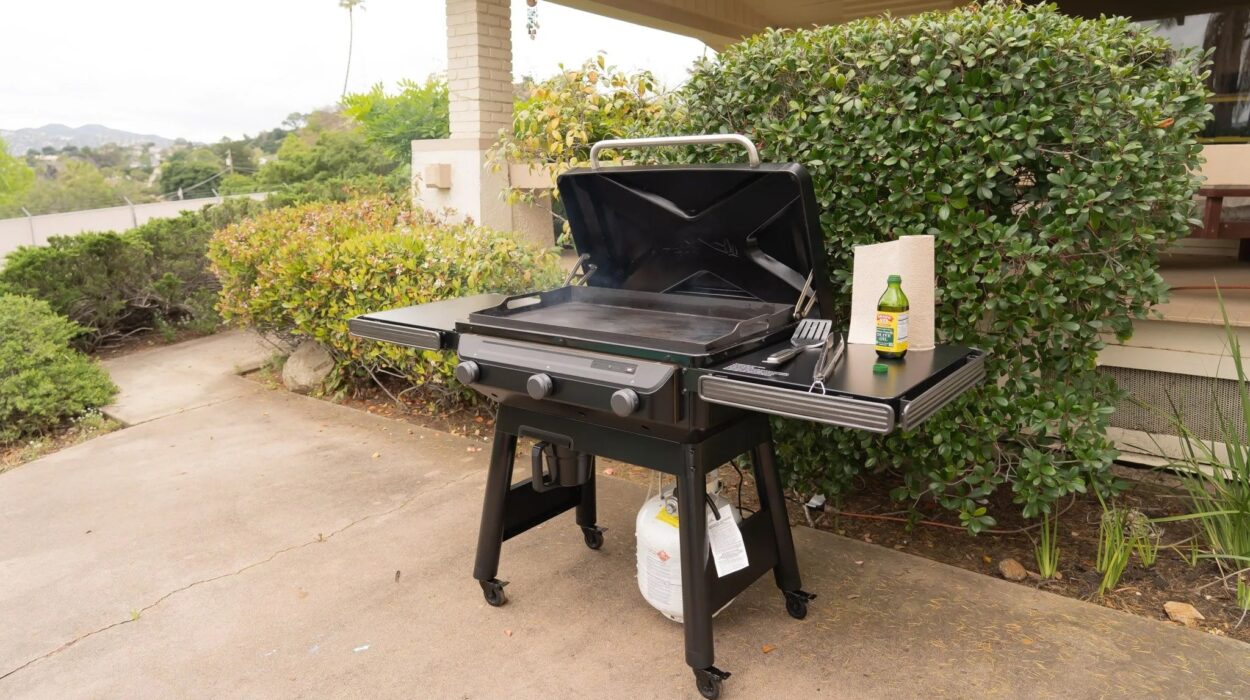
- Gas Grill
- High-quality charcoal or propane
- Marinade or spice rub of your choice
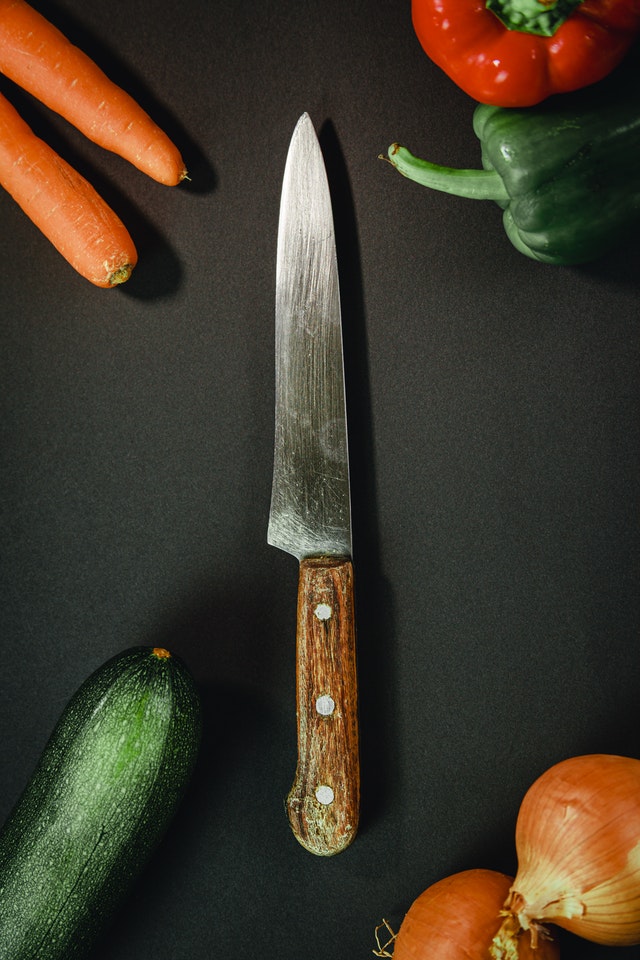
- Sharp Knife
- Cutting Board
- Olive oil or cooking spray
- Meat thermometer
- Basting brush

Preparation is Key
The secret to delicious grilled drumsticks lies in the preparation. Here’s a step-by-step guide:
Step 1: Marinate or Season
Marinating your drumsticks adds layers of flavor and helps tenderize the meat. You can either use a store-bought marinade or create your own using ingredients like olive oil, garlic, lemon juice, and herbs. Place the drumsticks and marinade in a zip-top bag, making sure the drumsticks are well-coated. Allow them to marinate in the refrigerator for at least 2 hours, or overnight for the best results.
Step 2: Preheat the Grill
Preheating your gas grill is crucial for even cooking. Set your grill to medium-high heat and let it preheat for about 10-15 minutes. This will ensure that the grates are hot enough to sear the drumsticks and lock in their juices.
Step 3: Oil the Grill Grates
To prevent sticking, brush the grill grates with a bit of olive oil or cooking spray.

Grilling the Drumsticks
Now that your grill is preheated and your drumsticks are marinated, it’s time to start grilling.
Step 1: Place the Drumsticks on the Grill
Lay the drumsticks on the grill, ensuring they’re not touching. This allows for even cooking and proper airflow.
Step 2: Sear the Drumsticks
Start by searing the drumsticks over direct heat for about 4-5 minutes per side. This will give them a nice char and seal in the juices.
Step 3: Cook Over Indirect Heat
After searing, move the drumsticks to indirect heat. This means you’ll place them on the cooler part of the grill, away from the direct flame. Close the grill lid and let them cook for another 25-30 minutes, turning occasionally. Use a meat thermometer to check for doneness; the internal temperature should reach 165F.
Step 4: Baste and Finish
In the last 10 minutes of cooking, baste the drumsticks with your favorite BBQ sauce for added flavor. Be sure to watch them closely to avoid burning the sauce.
Serving Suggestions
Grilled drumsticks are incredibly versatile and can be served with a variety of sides. Here are a few ideas:
- Grilled corn on the cob
- Coleslaw
- Potato salad
- Grilled vegetables
- Rice pilaf
Cleaning Up
After a delicious meal, it’s important to properly clean your grilling tools to maintain their longevity.
Cleaning the Grill
Once the grill has cooled down, clean the grates with a grill brush to remove any stuck-on food. You can also use a cookware cleaner for a thorough clean.
Maintaining Your Cutting Board
After using your cutting board, wash it with hot, soapy water. To keep it in top condition, apply a cutting board conditioner regularly.
As an Amazon Associate, I earn from qualifying purchases.
For more tips on knife maintenance, check out this guide.
Experiment with these techniques and make your next BBQ party unforgettable with these perfectly grilled drumsticks. Enjoy your cooking!


