Cooking butternut squash can sometimes feel like a daunting task, but with the help of a pressure cooker, it becomes incredibly easy and quick! If you’ve ever wondered how to cook butternut squash in a pressure cooker, you’re in the right place. With a few simple steps, you’ll transform this nutritious vegetable into a delicious treat.

Why Use a Pressure Cooker?
Using a pressure cooker is a game-changer in the kitchen. It significantly reduces the cooking time while retaining nutrients and flavors. This method is particularly useful with vegetables like butternut squash, which are known for their hard texture and sweet flavor profile. A pressure cooker tenderizes the squash without losing its natural sweetness, making it a perfect tool for this process.
Choosing the Perfect Butternut Squash
Before diving into the cooking process, choosing the right butternut squash is crucial. You want one that is smooth, firm, and free of any blemishes or soft spots. The stem should be intact, and the squash should feel heavy for its size. This ensures that your dish has the perfect texture and flavor when cooked.
Ingredients You’ll Need
To make a luscious butternut squash dish using your pressure cooker, gather the following ingredients:
- 1 medium butternut squash
- 1 tablespoon olive oil
- Salt and pepper to taste
- 1 cup of water
- Optional: your favorite seasonings and herbs such as rosemary or thyme
Tools Needed
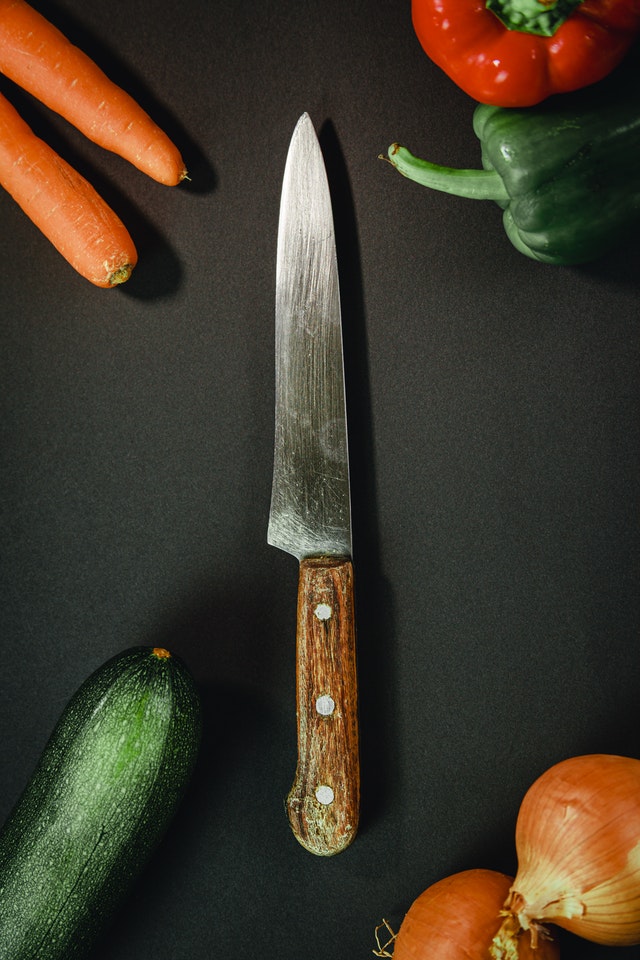
Along with these ingredients, ensure you have the right tools, such as: High-quality knife, Cutting board, and of course, a Pressure cooker.
Steps to Cook Butternut Squash in a Pressure Cooker
Now that you have everything you need, let’s dive into the cooking process. Follow these detailed steps to achieve the best results:
Step 1: Preparing the Squash
Using your knife, carefully cut off the ends of the butternut squash. Next, stand the squash upright on your cutting board and peel away the skin using a vegetable peeler. Halve the squash lengthwise and scoop out the seeds. Cut the squash into evenly sized cubes to ensure they cook consistently.
Step 2: Cooking in the Pressure Cooker
Add 1 cup of water to your pressure cooker. Place the squash cubes in a steamer basket or directly in the pot (note: using a basket prevents the squash from getting too mushy). Add a drizzle of olive oil and sprinkle salt, pepper, and any other seasonings over the top.
Secure the lid of the pressure cooker and ensure the valve is set to the sealing position. Cook on high pressure for about 6 to 8 minutes, depending on the size and firmness of your squash cubes. Once cooked, allow the pressure to naturally release for about 5 minutes before carefully moving the valve to the venting position.
Step 3: Finishing Touches
Remove the squash cubes carefully from the pressure cooker using tongs or a slotted spoon. Place them in a serving dish and toss with additional olive oil and herbs if desired. Your perfectly cooked butternut squash is now ready to enjoy!
Health Benefits of Butternut Squash
Butternut squash is not only delicious but also packed with health benefits. Rich in vitamins A, C, E, and fiber, it supports immune health, vision, and digestive health. Including it in your meals not only enhances the taste but provides essential nutrients for a balanced diet.
Further Exploration
For more information on using a pressure cooker efficiently, check out this detailed guide by Food Network. Delve into a variety of healthy and time-saving recipes you can try at home.

Conclusion
Learning how to cook butternut squash in a pressure cooker opens up a world of culinary possibilities. It’s a simple, quick, and nourishing way to enjoy one of fall’s favorite vegetables. By following these steps and tips, your next squash dish will surely impress family and friends. Happy cooking!
This article contains affiliate links. We may earn a commission at no extra cost to you.


