How to cook spare ribs on a gas grill can seem daunting, but with the right techniques and a little patience, you can produce mouth-watering, tender spare ribs that will wow your family and friends. Whether you’re new to grilling or a seasoned pro, this guide provides everything you need to know to make the perfect spare ribs on a gas grill.

Getting Started: Preparation is Key
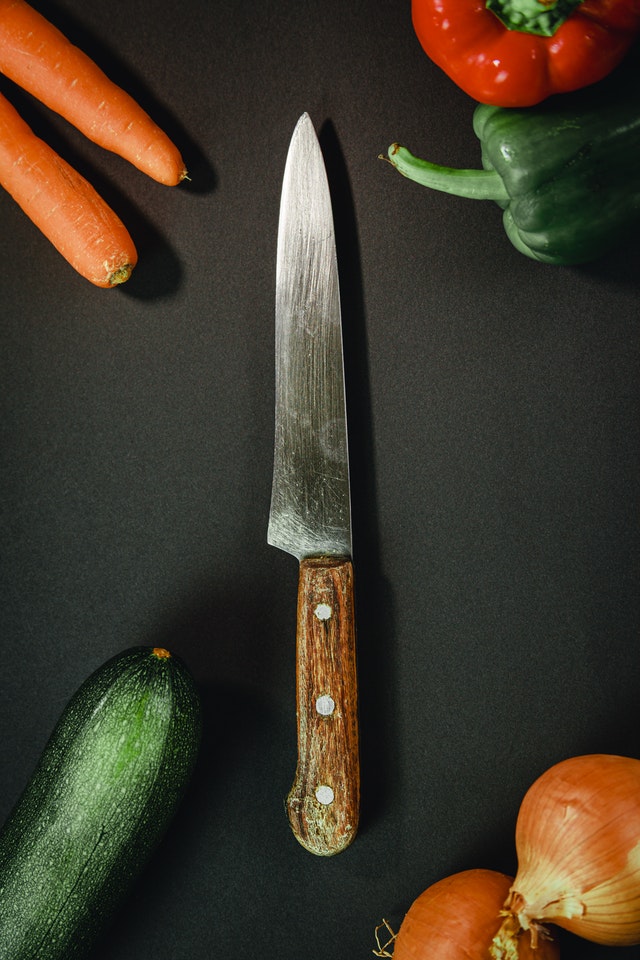
Before diving into the cooking process, it’s crucial to understand that preparation is the cornerstone of excellent grilling. For perfect spare ribs, the first step is to choose quality meat. Look for ribs with even marbling of fat for the best flavor and texture. Similarly, having the right tools, such as a reliable knife, a sturdy cutting board, and a high-quality gas grill are essential to creating an unforgettable meal.
:max_bytes(150000):strip_icc()/faw-gas-grills-test-monument-4-burner-propane-rkilgore-129-e0873ca1a80d4642988d0874f1eb6a11.jpg)
Ingredients
If you want to make sure your ribs come out perfectly every time, gather the following ingredients.
- 2 racks of spare ribs
- BBQ sauce of your choice
- 2 tablespoons of brown sugar
- 1 tablespoon of paprika
- 1 tablespoon of ground black pepper
- 1 tablespoon of salt
- 1 teaspoon of garlic powder
- 1 teaspoon of onion powder
- 1 teaspoon of cayenne pepper (optional for extra heat)
- Apple juice or apple cider vinegar (for moisture)

The Art of Marination
The marination process is where the magic begins. Creating a dry rub with the ingredients listed above ensures that each rib is enveloped in a bed of fragrant spices, which will permeate the meat as it cooks. Start by combining the brown sugar, paprika, ground black pepper, salt, garlic powder, onion powder, and cayenne pepper in a bowl. Rub this mixture generously over both sides of the ribs. For the best results, let the ribs marinate in the refrigerator overnight, or for at least four hours. This time allows the spices to thoroughly impregnate the meat, forming a flavorful crust during grilling.
Setting Up Your Gas Grill
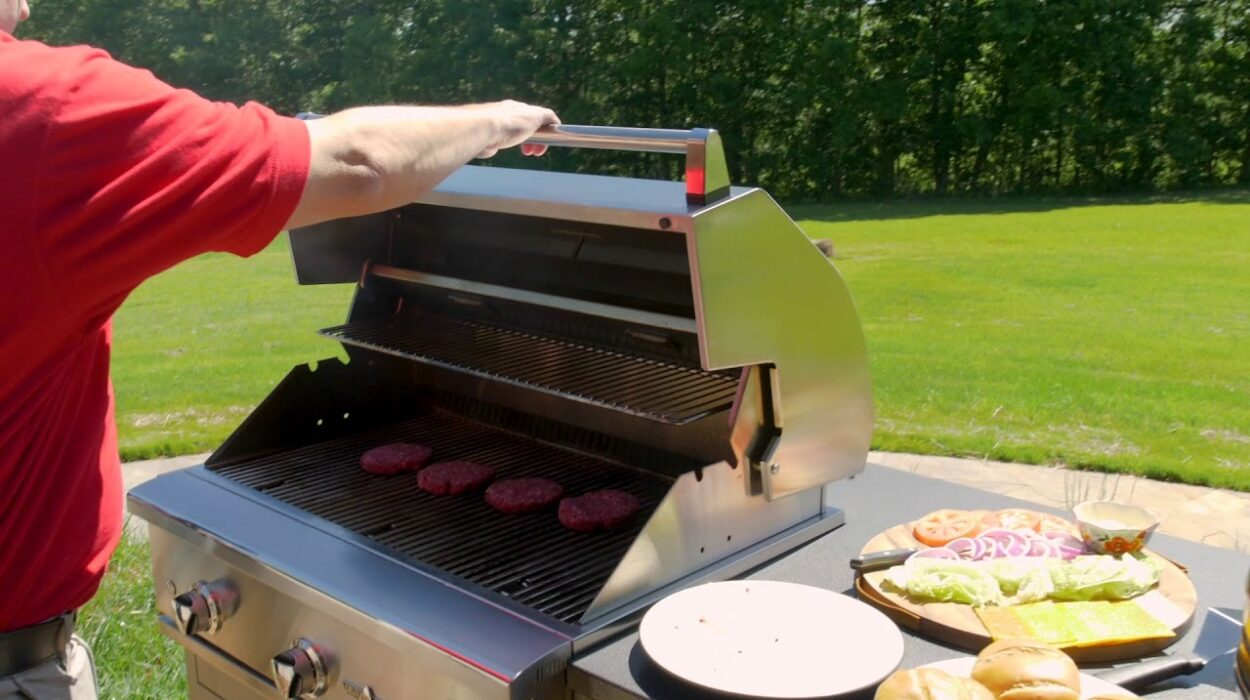
Properly setting up your grill is a critical step in learning how to cook spare ribs on a gas grill. You want to create a two-zone heating setup to allow for indirect cooking. This can be achieved by turning on one side of the grill to medium-high heat, while leaving the other side off. The ribs will cook on the cooler side, allowing them to cook slowly and evenly, preventing them from drying out.
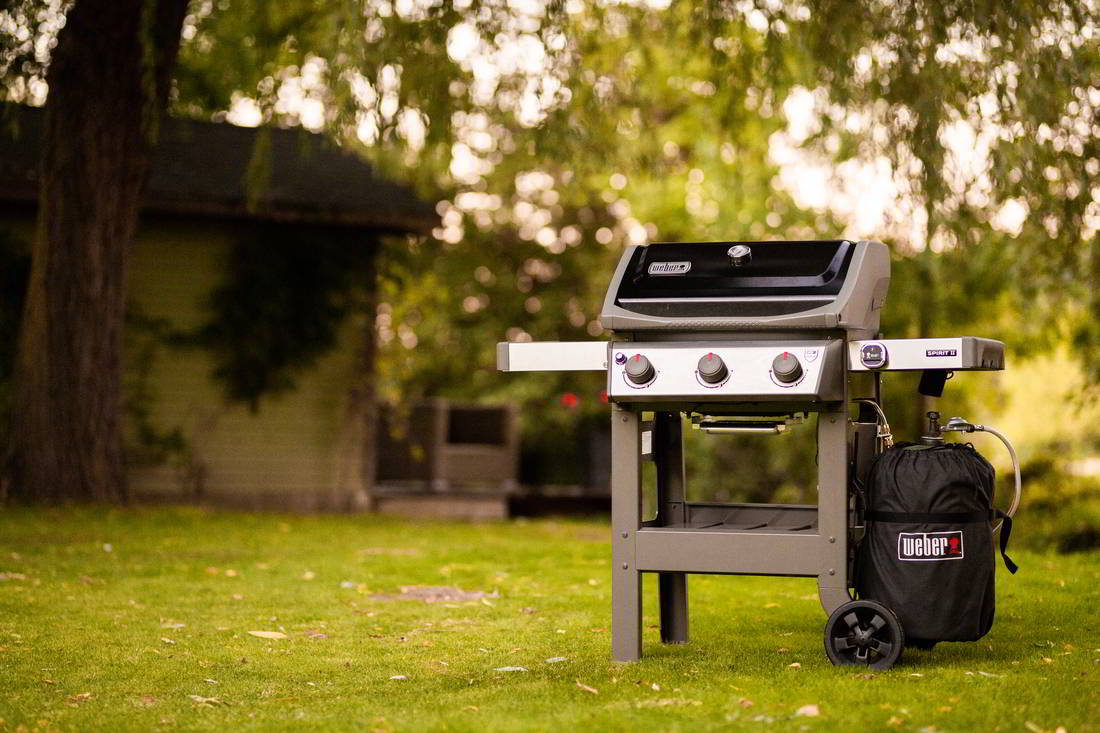
If you’re curious about selecting the right grill, you might want to read up on different types here.
Cooking Process: Patience is a Virtue
Once your grill is ready, take the ribs out of the refrigerator and allow them to come to room temperature. Place the ribs bone-side down on the cool side of the grill. Close the lid and let them cook slowly. This process, known as indirect grilling, is crucial to breaking down the connective tissues in the meat without burning the exterior. The key here is patience. Let the ribs cook for approximately 2.5 to 3 hours, maintaining a temperature of around 250F. Check the thermometer regularly to ensure a steady temperature.
Every once in a while, spritz the ribs with apple juice or apple cider vinegar to keep them moist and prevent them from drying out. This not only adds moisture but also enhances the flavor, making each bite juicy and delectable.
Basting the Ribs
About 30 minutes before you expect the ribs to finish cooking, it’s time to apply the BBQ sauce. Baste one side of the ribs generously with your preferred BBQ sauce. Close the grill lid and let the sauce set for about 10-15 minutes. Then, flip the ribs and repeat the basting process on the other side. This gives the sauce ample time to caramelize and form a sticky, sweet coating that enhances the smoky flavor.
Interested in the best basting tools? Check out some options here.
Testing for Doneness
The most reliable method to check if your ribs are done is by using a meat thermometer. The internal temperature should reach between 190F and 203F for truly tender ribs. You can also perform a bend test: using tongs, lift the ribs from one end. If the meat starts to crack and break away from the bone but does not entirely fall off, they’re perfect.
The Final Touch: Resting and Slicing
When the ribs are done, remove them from the grill and let them rest for about 15 minutes. This resting period allows the juices to redistribute throughout the meat, ensuring each bite is succulent. Use a sharp knife to slice between the bones, creating individual rib servings. Serve hot, with extra BBQ sauce on the side for dipping.
Pairing and Serving Suggestions
Spare ribs are incredibly versatile, and pairing them with the right sides can elevate your meal to a gourmet experience. Classic potato salad, coleslaw, and cornbread are fan favorites that complement the rich and smoky flavors of the ribs. For a refreshing contrast, consider serving a crisp green salad or grilled vegetables. And, of course, no barbecue is complete without a cold beverage. A well-chilled beer or a glass of lemonade can make for a perfect accompaniment.
Cleaning Up: Maintaining Your Cookware
After enjoying a delicious meal, the last step is cleaning up. Maintaining your grill, knives, and cutting board is essential for longevity and hygiene.
As an Amazon Associate, I earn from qualifying purchases.


